
It's time for the third Installment of the RLR Creations “Pattern Spotlight”
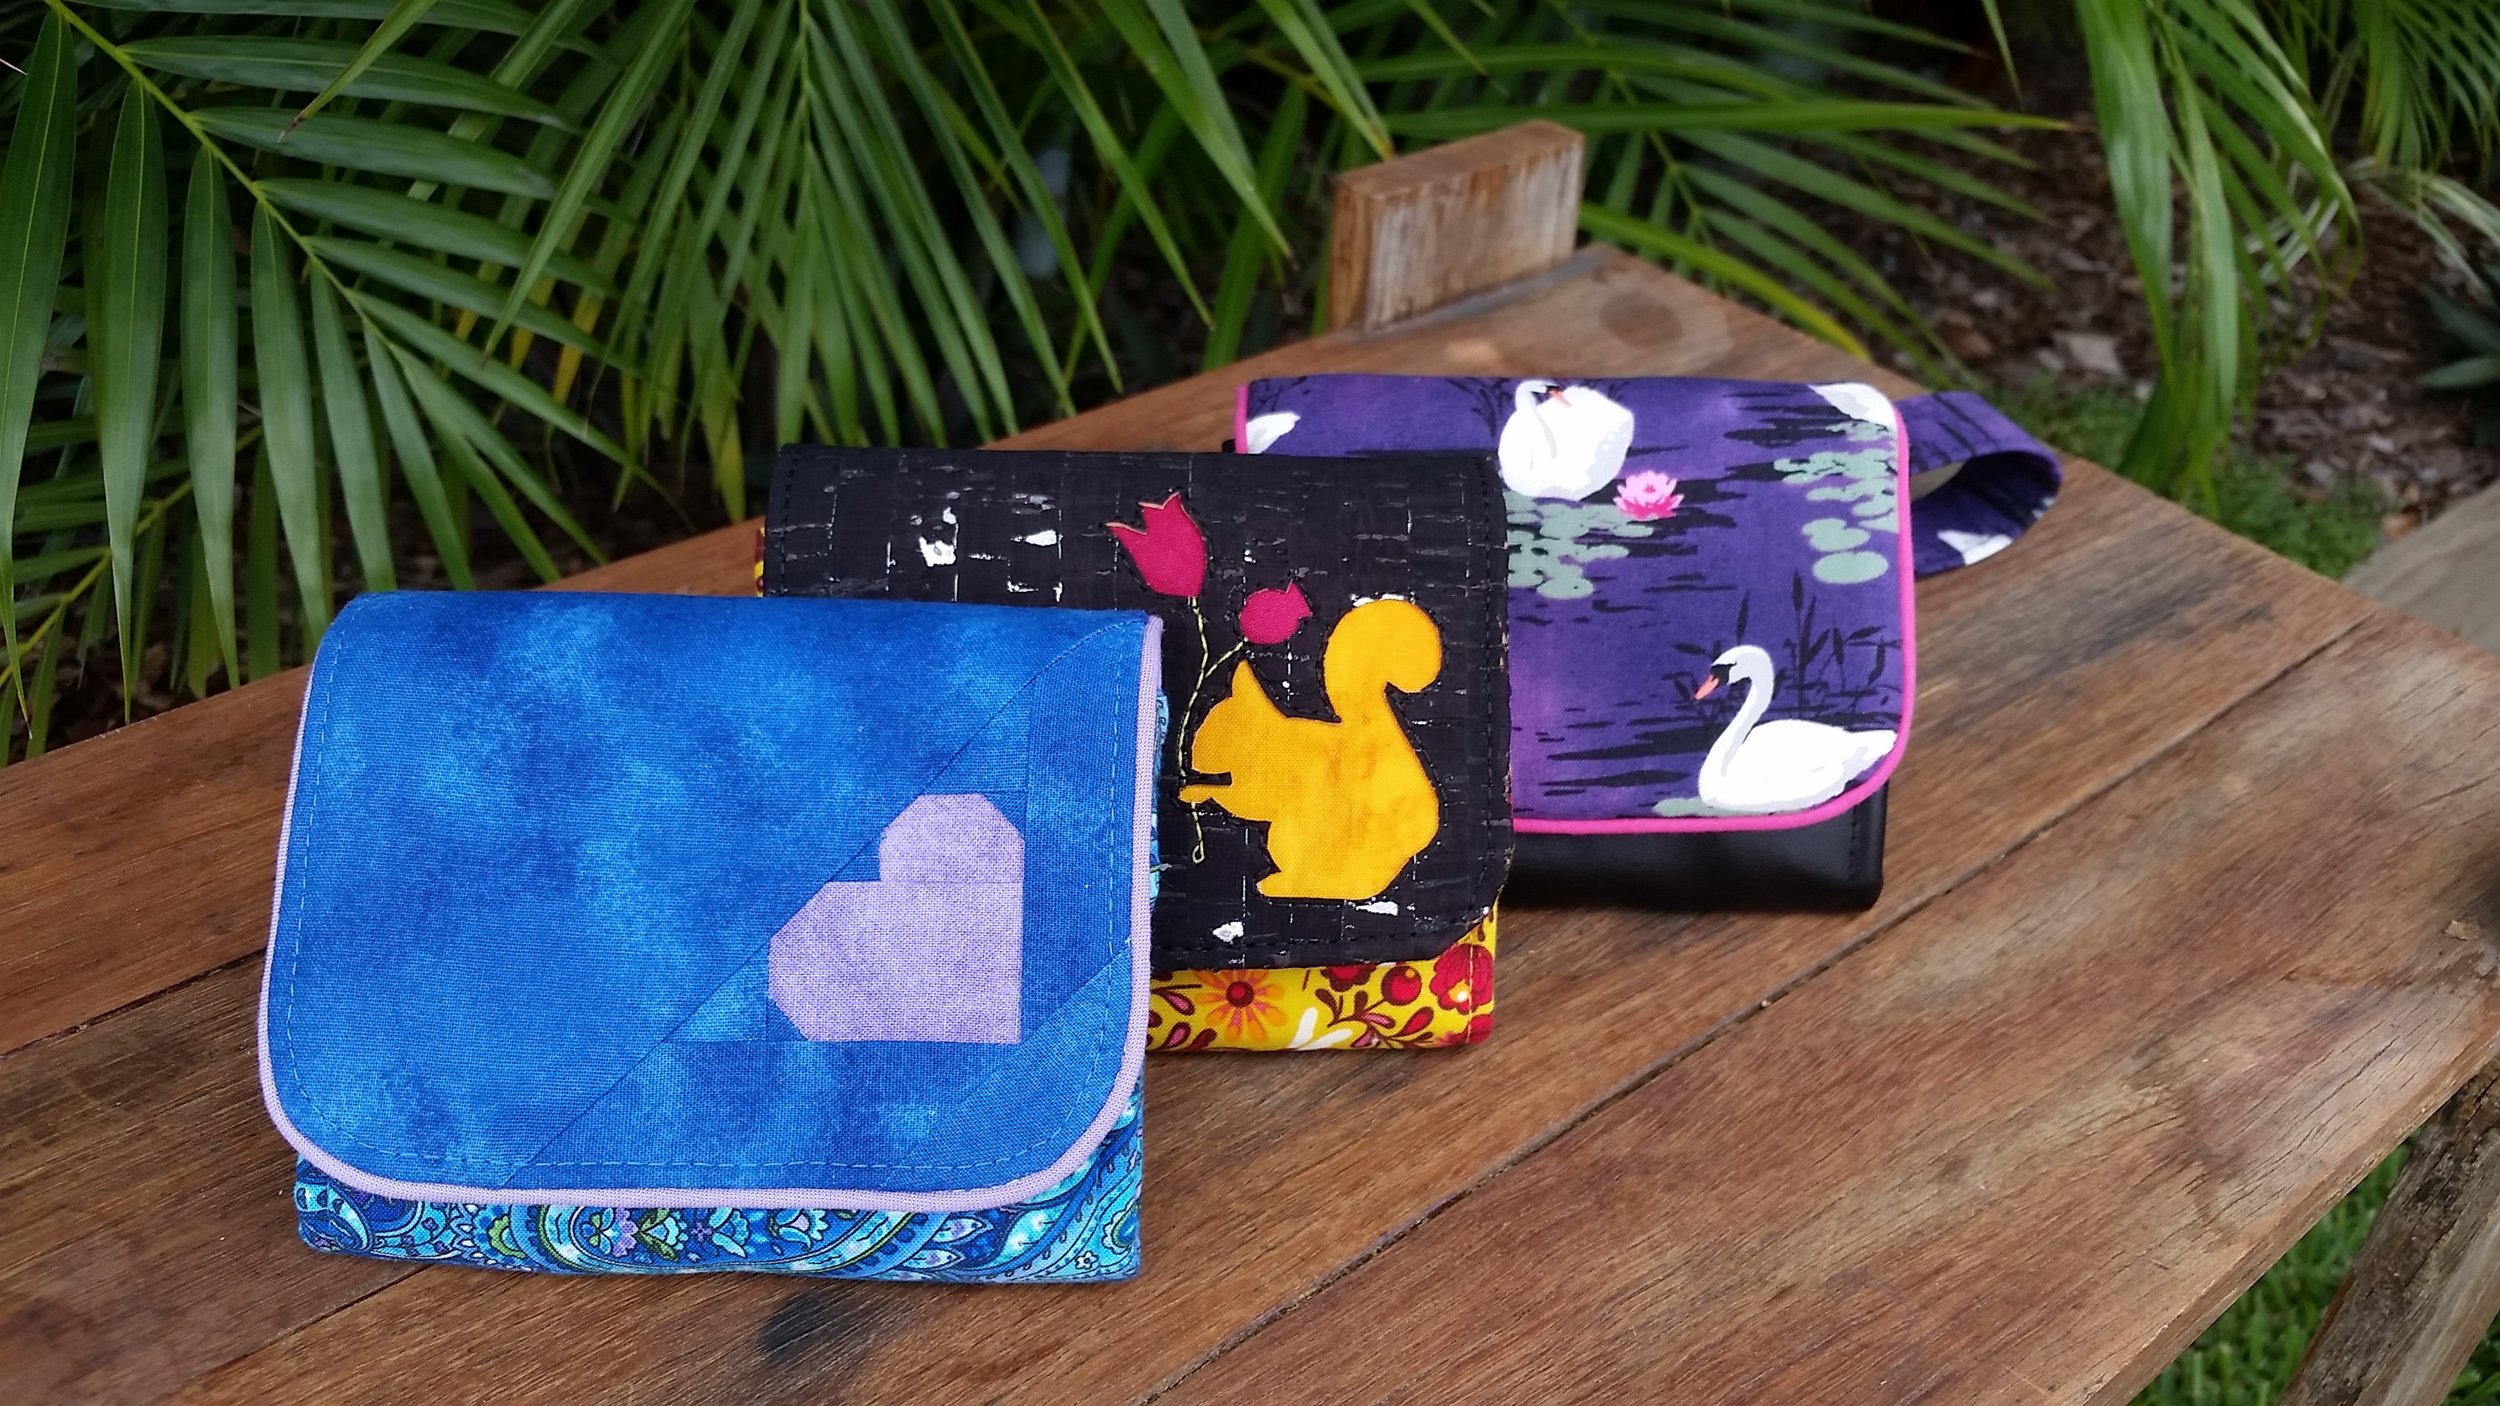
This month we will be focusing on the Limelight Wallet, which is available for purchase HERE or for Craftsy users you can find it HERE.
This week is all about Paper Piecing!
Basically the art of paper piecing is a fancy way to re-purpose those small scrap sized pieces of fabric and use them to ‘colour-in’ a design or shape. This creating this simple heart shape design on the flap of your Limelight wallet is as easy as counting to 11.
Organizing the fabrics you want to use.
There is no right or wrong way to arrange your fabrics. The pattern (available here) shows that you can use 3 colors (shown as red for the heart, grey for the angle section and white for the background) or you can choose to only do 2 (heart and background) as I’ve done in my example. Your scrap pieces should be large enough to cover the area they are assigned for PLUS a 1/in (6mm) seam allowance around the outside. More tips on that later.
So let’s get started!
Download your Paper Piecing Pattern HERE!
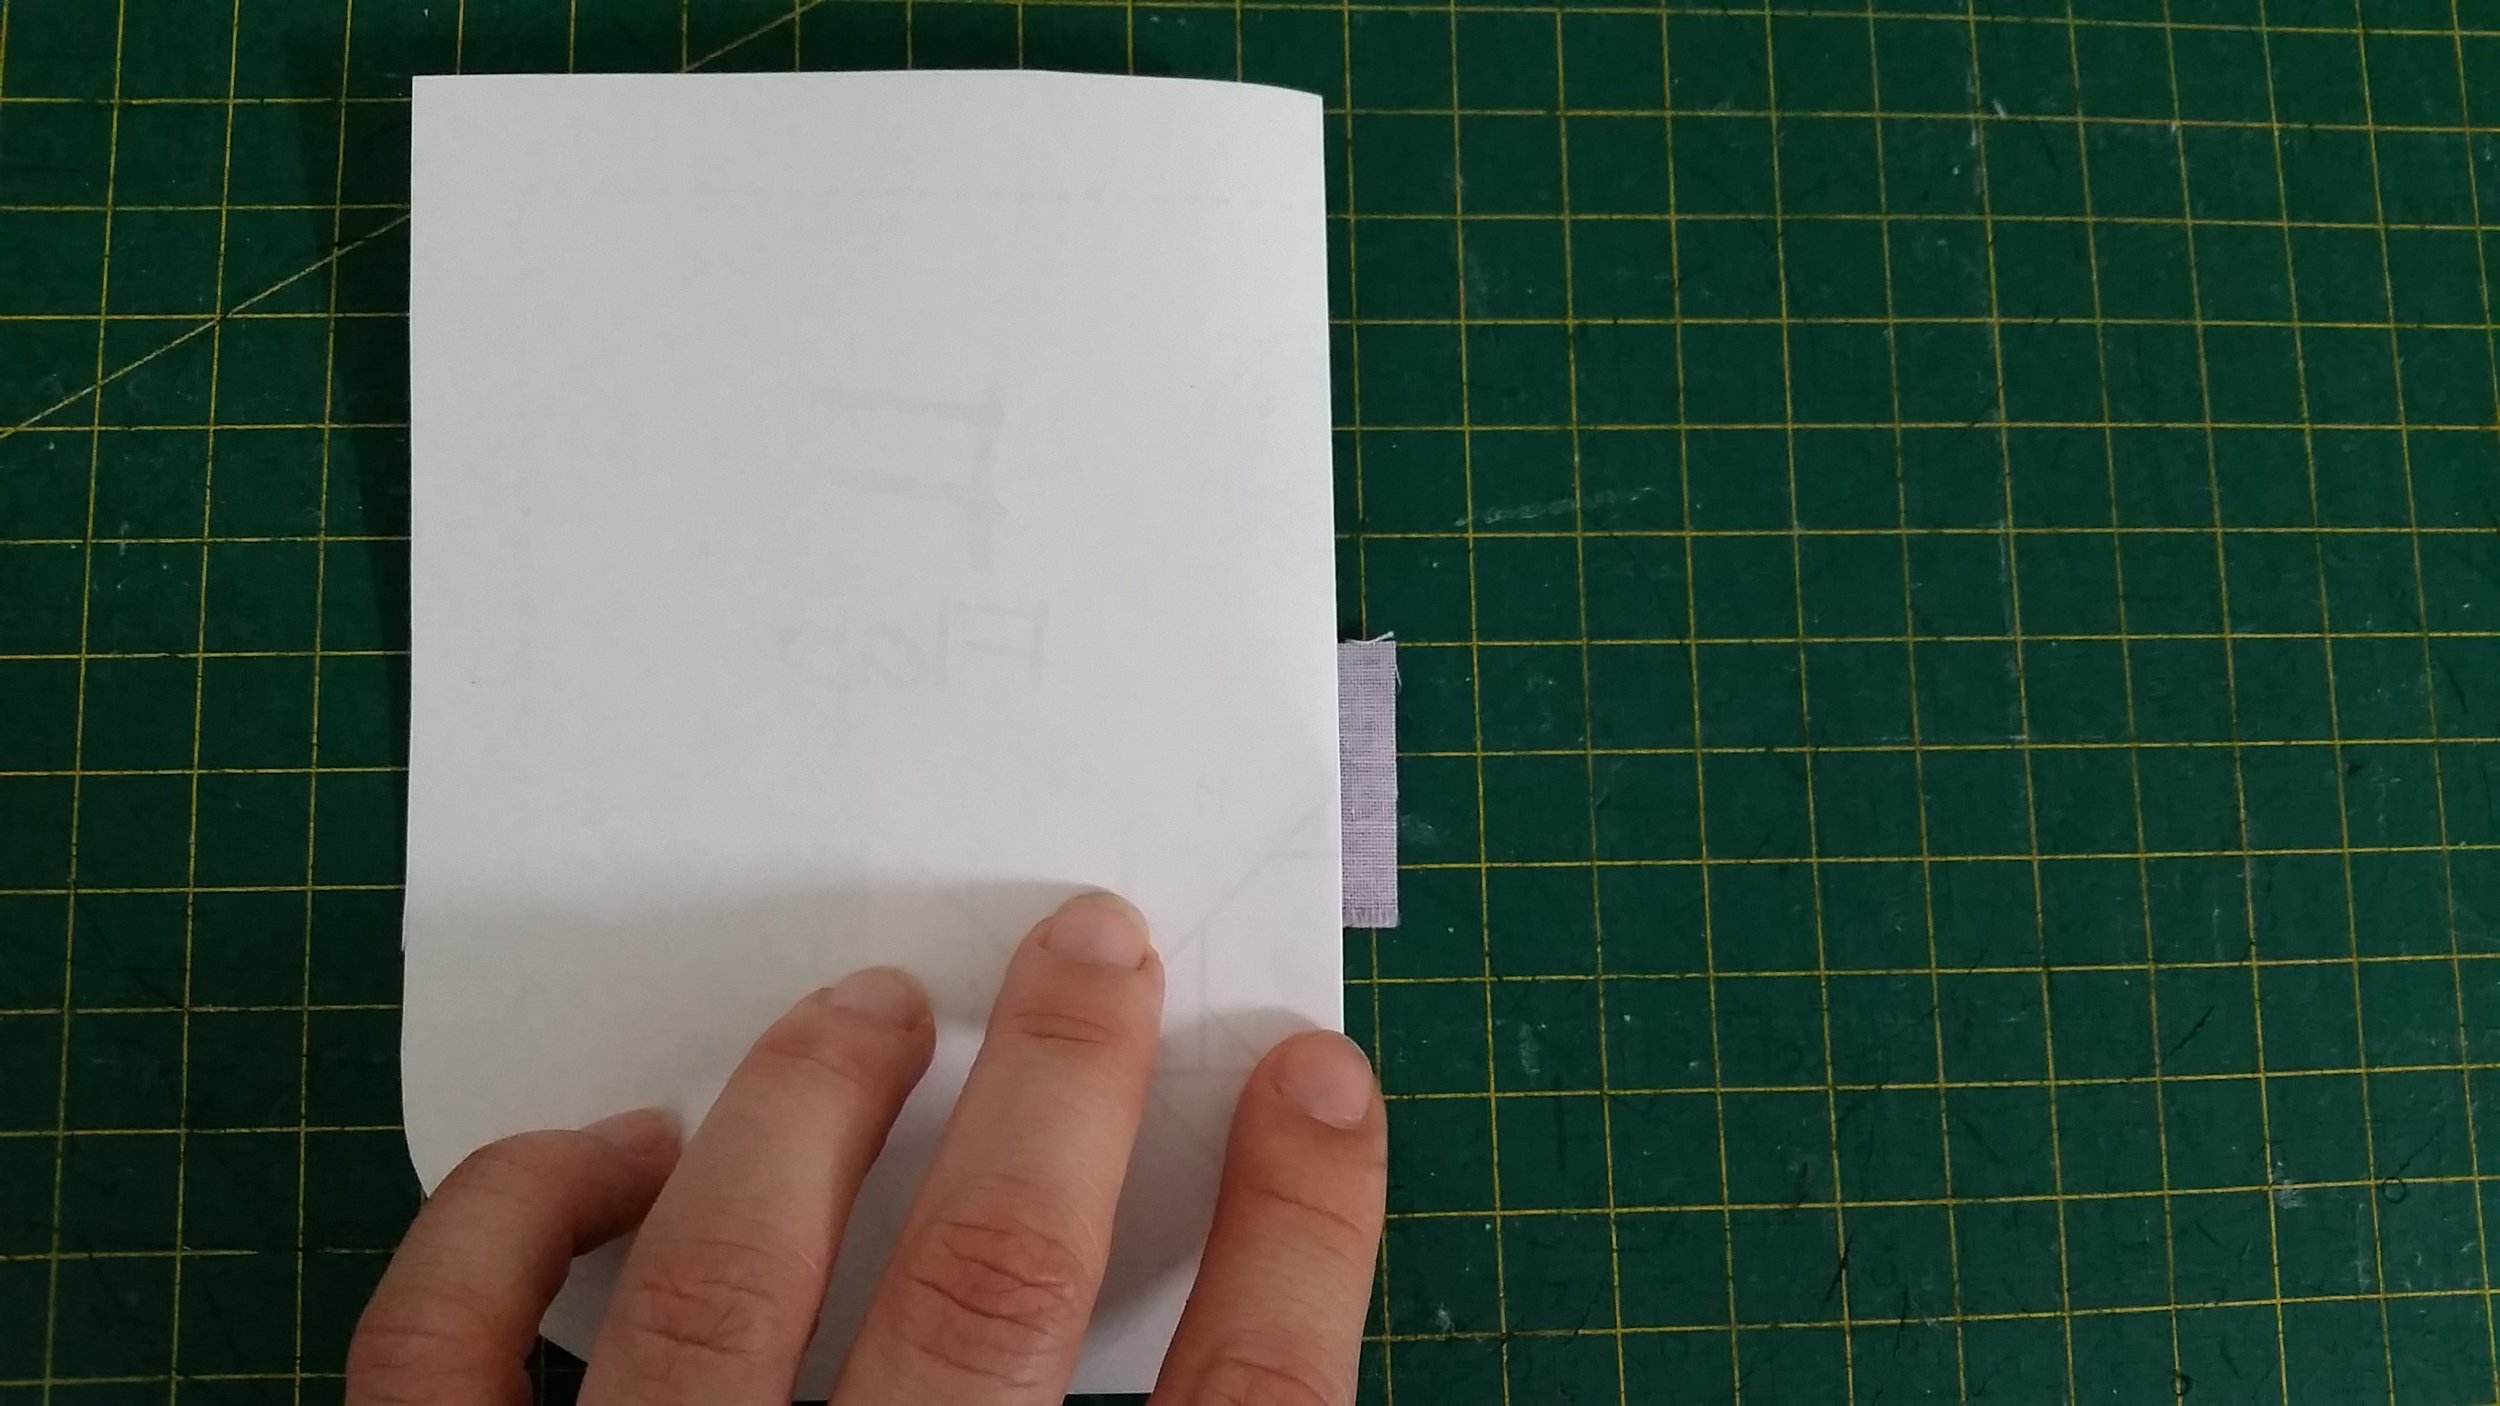
Step 1. Take your heart coloured fabric and using a temporary glue like a Sewline Glue Stick, apply a small amount to the wrong side of the fabric. Hold your design up to the light and, using the shadow of your piece of fabric, position it over the Number 1 section with the wrong side of the fabric glued to the WRONG SIDE of your pattern paper. Remember to allow at least a ¼” seam allowance on each side.


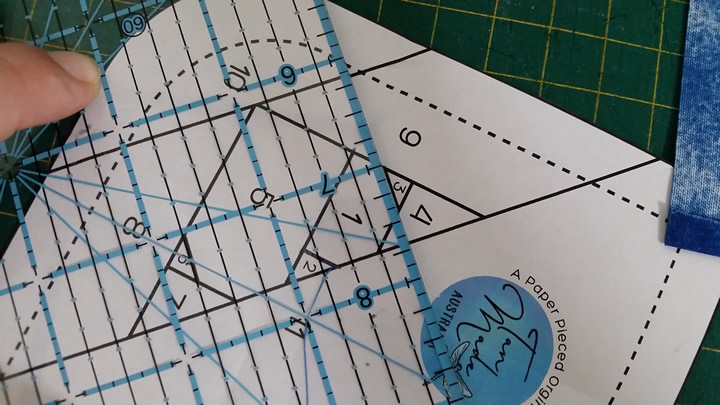
Step 2. Turn your pattern piece RIGHT SIDE up so you can see the numbers. Where the Number 1 and Number 2 sections meet (the 1-2 line), draw over the intersecting lines. I like to use a Frixion Ball Point Pen as it makes a nice folding line and erases with my iron)

Step 3. Using the indent from your pen line, fold along the 1-2 line. Trim the fabric to ¼” past this fold.

Step 4. Take a piece of your “Angle Section” fabric (color coded grey on the pattern) and place it RIGHT SIDE UP. Place the Paper Piece pattern and the first section of heart on top of the Angle Section fabric so that the 2 pieces of fabric are right sides together.
Step 5. Keeping the edges of the 2 fabrics aligned, gently fold the paper back so you can see the numbers. Sew along the line between Numbers 1 and 2 with a short stitch length (I like to use about a 1.5 stitch length) remembering to reverse at the beginning and end to secure the stitches.
Step 6. Fold the Angle Section fabric back to expose the right side and gently press the seam


Step 7. Turn your pattern piece over, and start the process again (from Step 2 to Step 6) with the next number. Remember to use the line that joins to the lower numbers (so the line between 3 and 1, then the line between 4 and 3/1) See? I told you it was as easy as counting to 11!
When you are finished with the last seam, trim around the outside of the pattern piece and then continue as per the Limelight instructions. (you could even add piping at this step by using last week’s tutorial!)

It looks so good, even the gnomes come out of the woodwork to see!!

Please remember to share your creations on the RLR Creations Sewing Patterns Group (https://www.facebook.com/groups/RLRCreationsSewingPatterns/) page on Facebook. We would love to see your colour combinations with the paper piecing pattern and on all your creative interpretations on the Limelight Wallet pattern.
Next time, I will be looking at putting a twist on a different RLR Creations pattern… Which one would you like to see?