
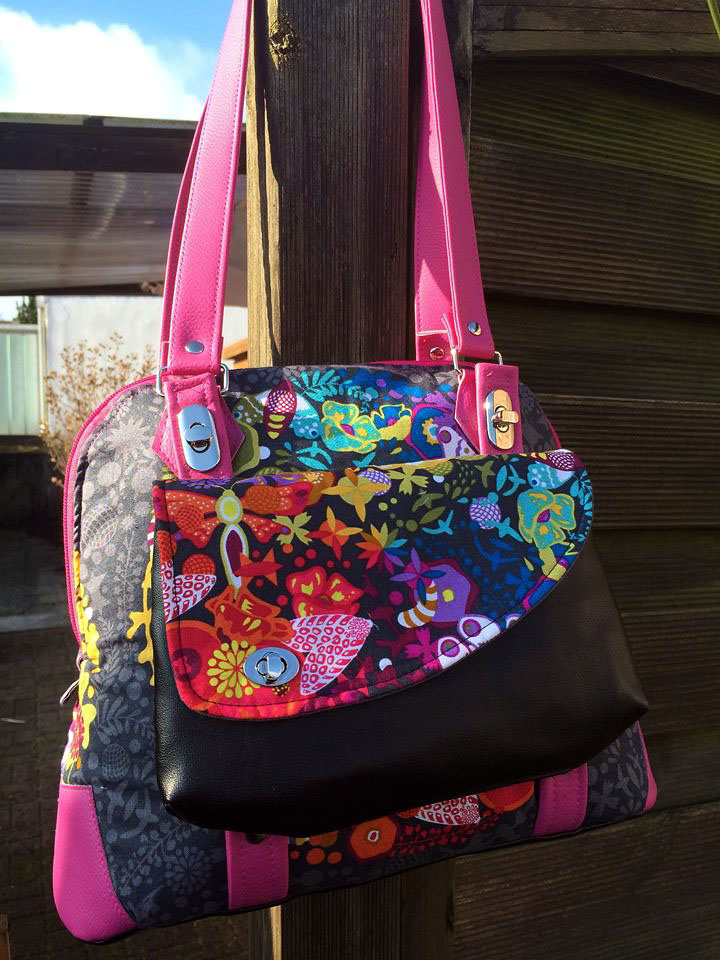
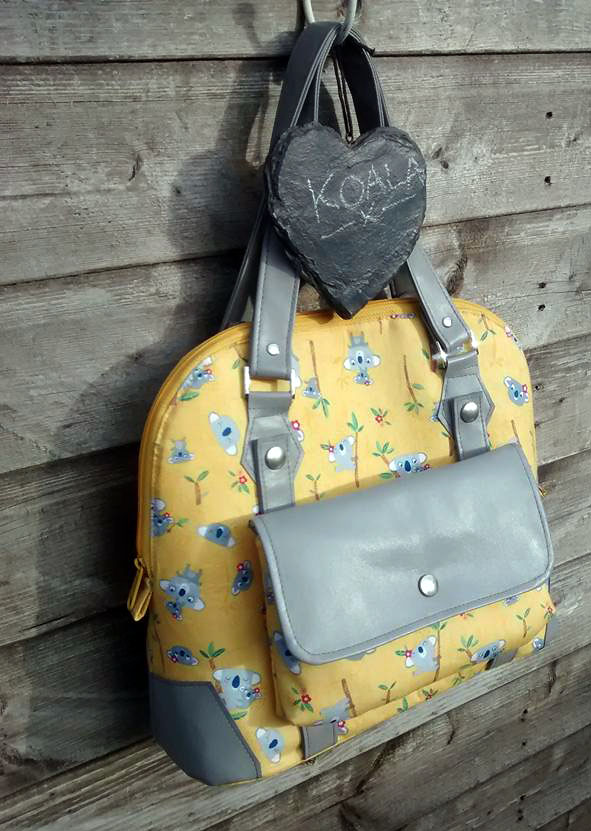
The new Koala Handbag with detachable Clutch pattern by RLR Creations.
This new handbag is the ultimate day to night accessory.
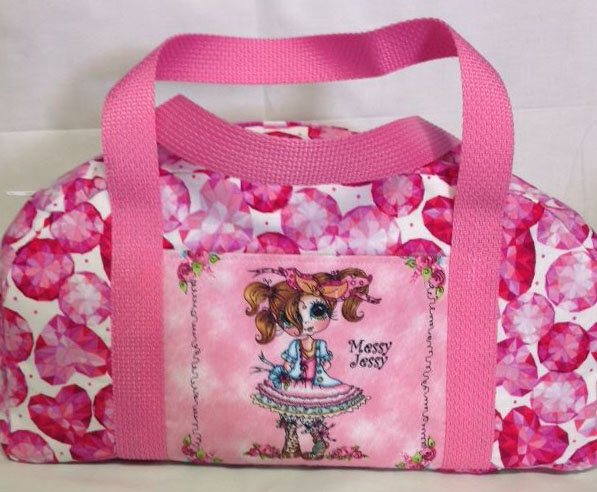
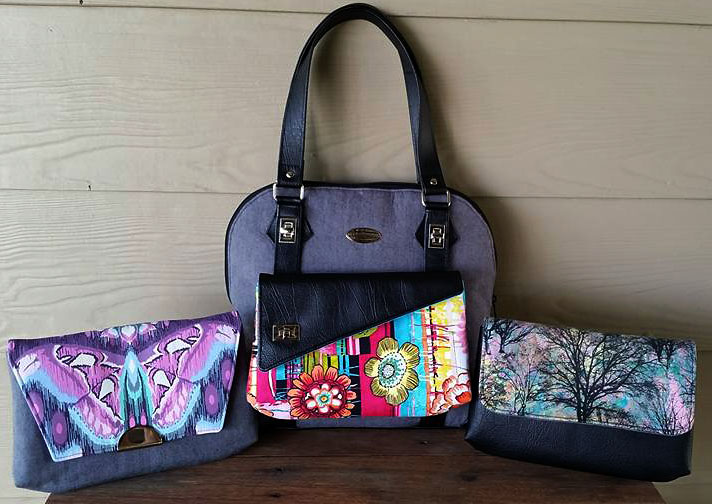
The Koala handbag will have your transitional style needs covered! A roomy handbag to hold all of your daily essentials and a detachable clutch when you don’t want to take your whole bag with you.
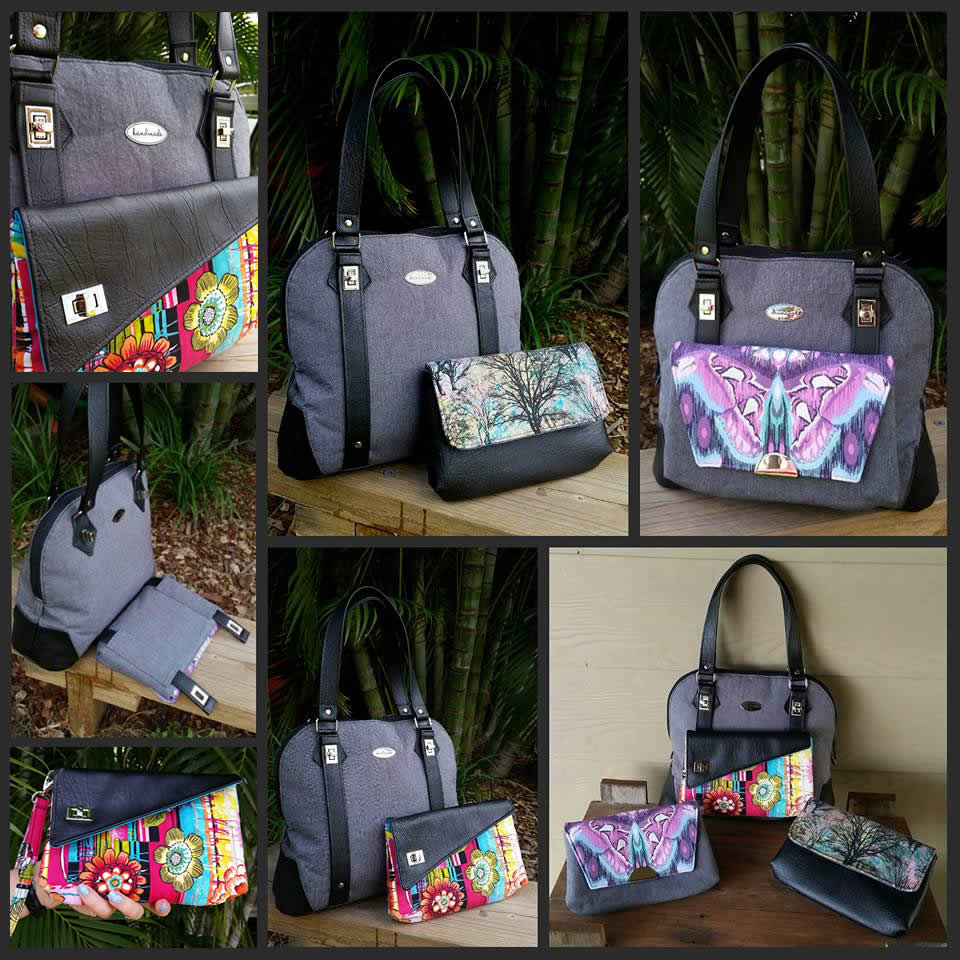
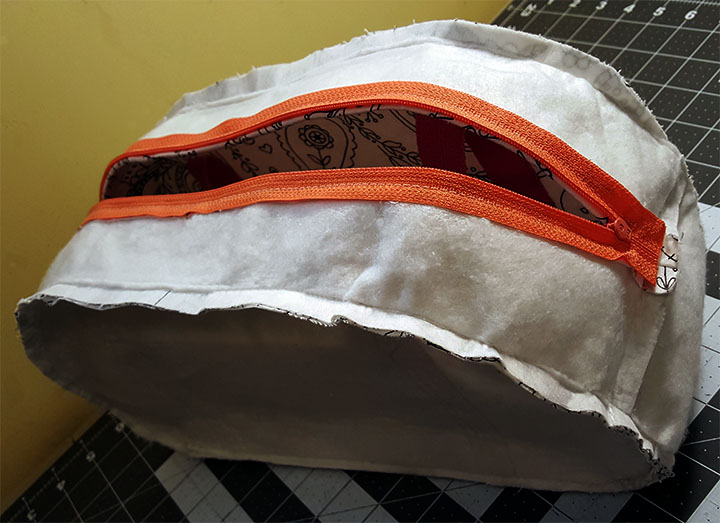
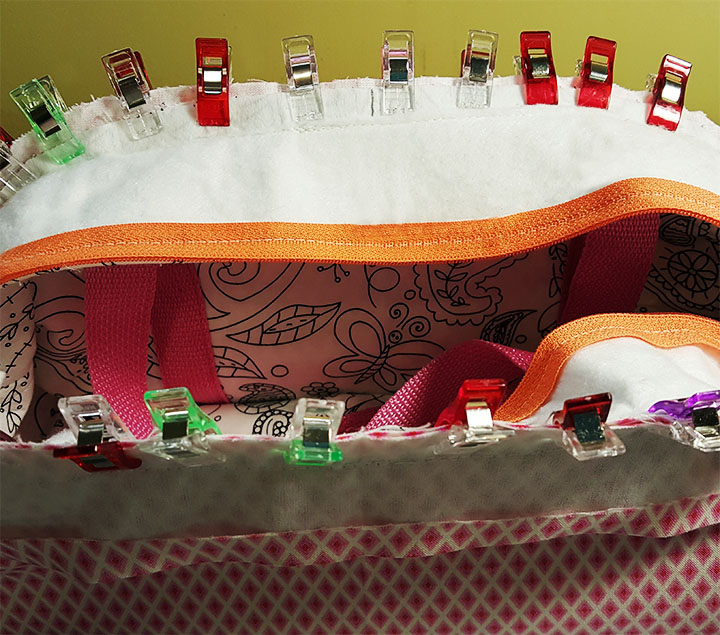
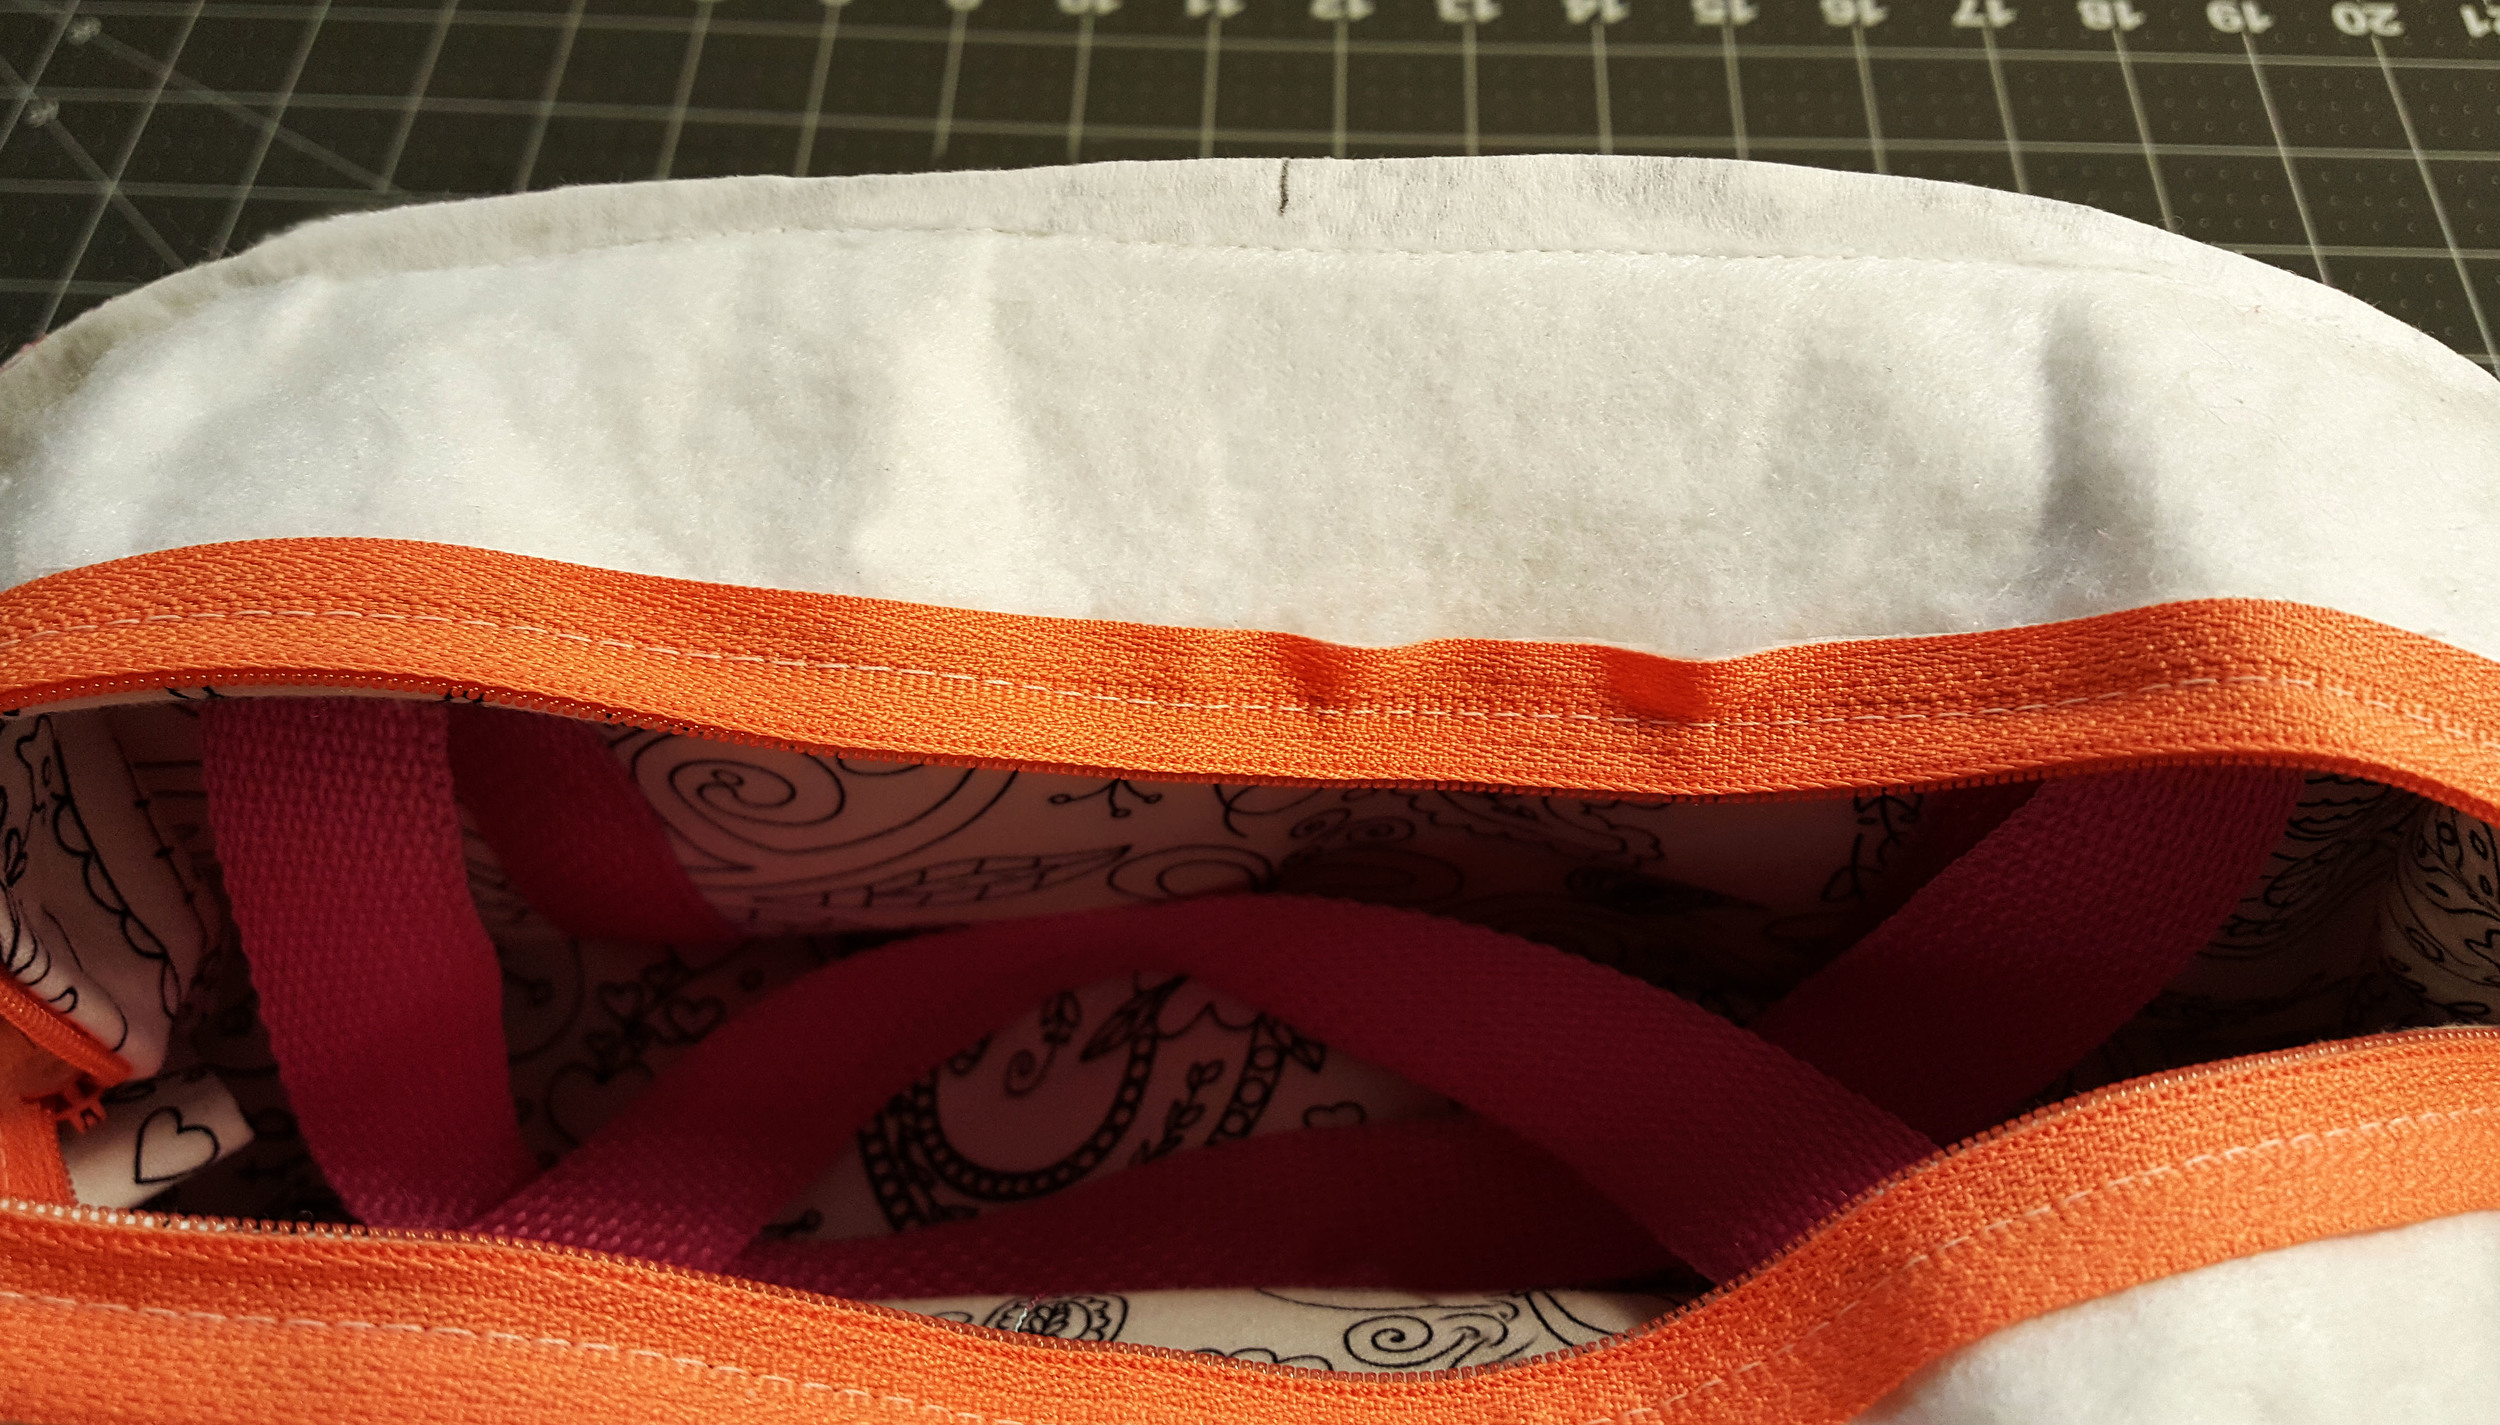
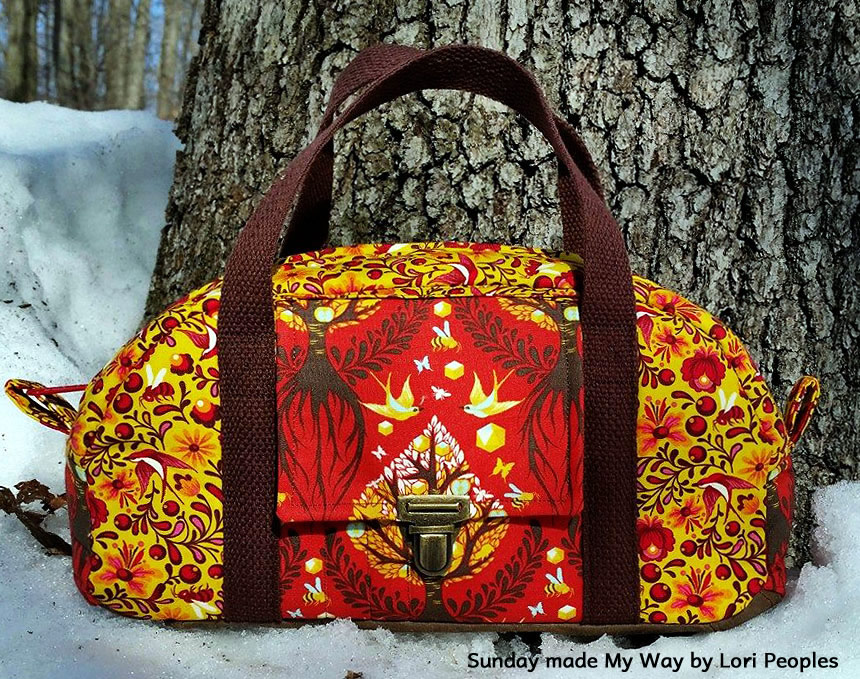
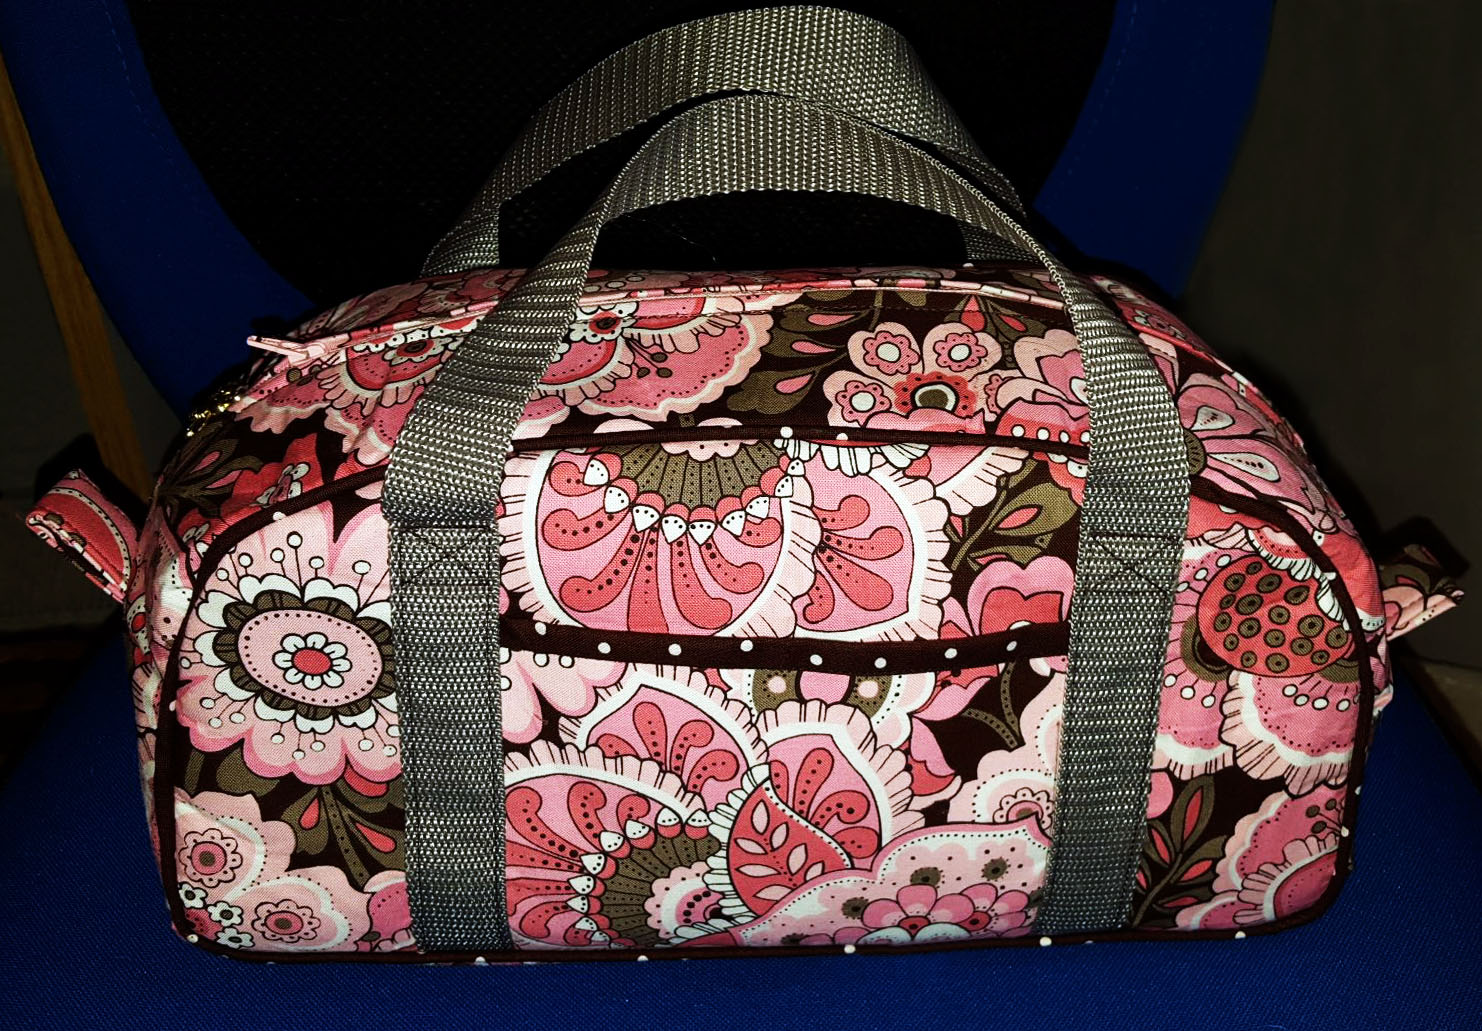
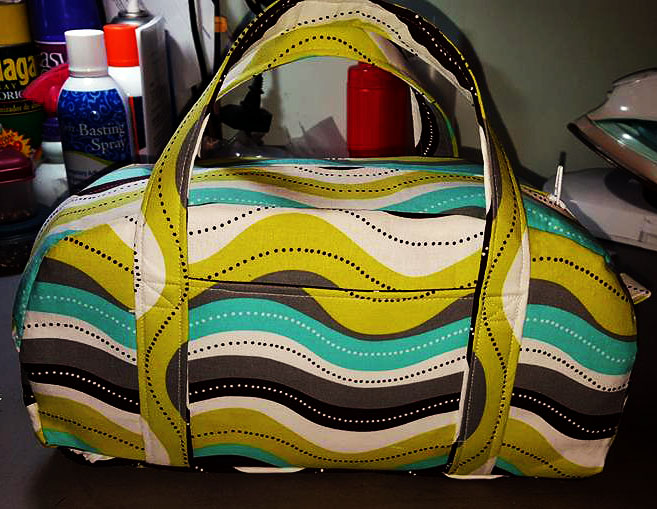
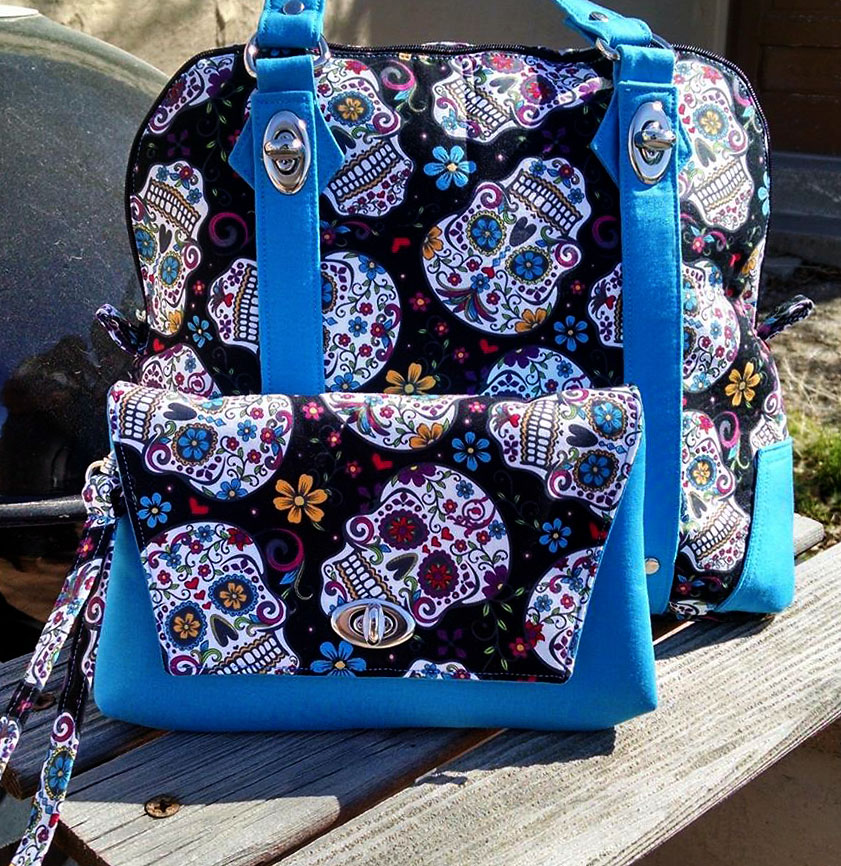
The Koala hand bag features a 21” wide clam-shell opening, a large interior zipper pocket, and pretty accents that make the bag look stylish even when used without the clutch. It offers two carry options with dual handles and a detachable shoulder strap.

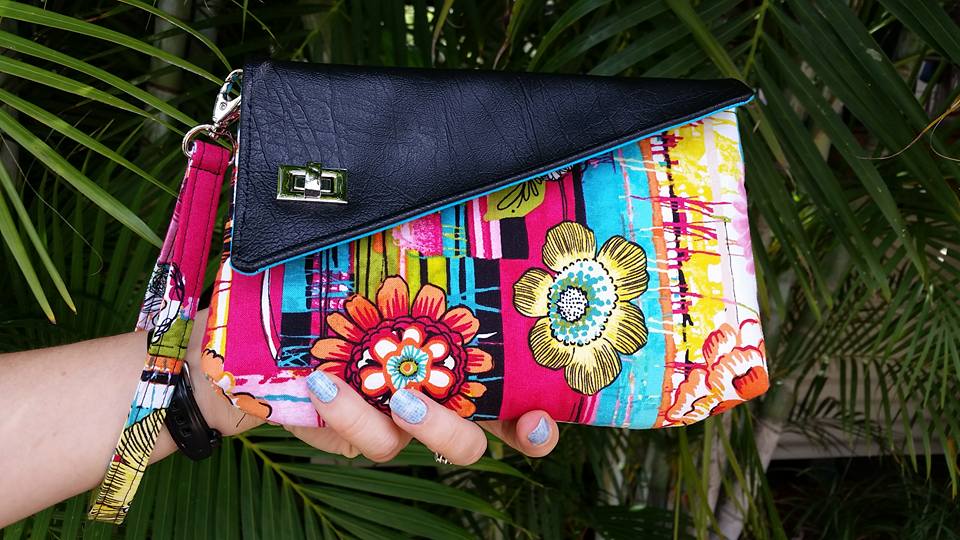
The detachable clutch functions as a front easy access pocket on the front of the bag, or simply slip off the front of the bag for a roomy clutch when you want to downsize the size of your bag. Features a double slip pocket on the interior and a removable wrist strap.
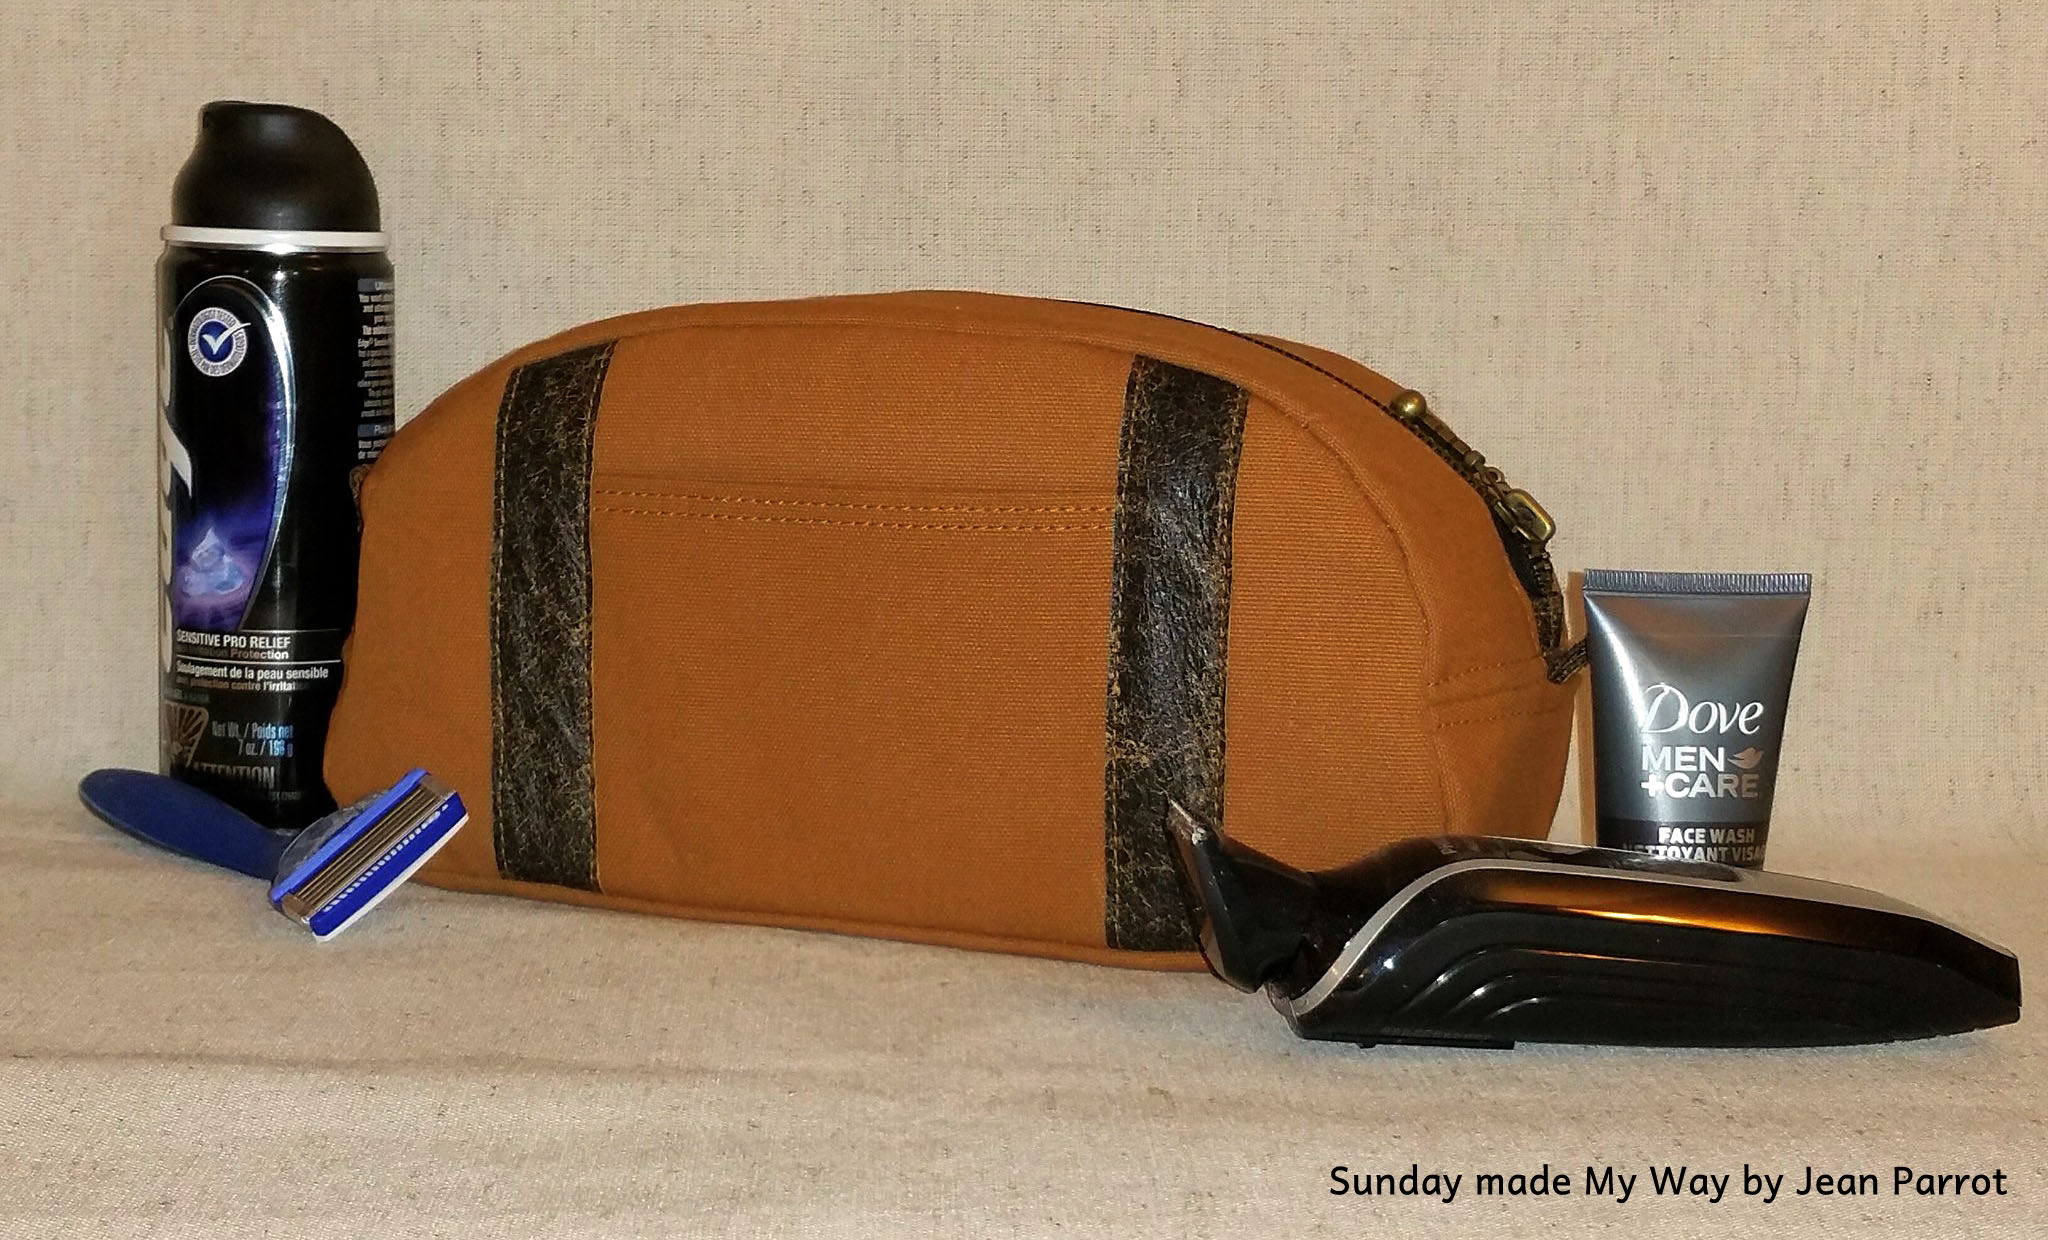
The Handbag Measures: 12” wide, 10” tall and 4” deep and the detachable Clutch measures: 9” wide, 6” tall and 1” deep.
You can find the pattern here:The Koala Handbag
Behind every RLR Creations pattern that is published...
is a team of hardworking and dedicated pattern testers. The unsung heroes! No pattern would ever be as good, or really even make it to publication without them. They all have big jobs on the team that go beyond creating a new bag for themselves. They are the ones that have read the instructions, printed and used the pattern pieces, and completed the new handbag. Feedback on the pattern is also a big responsibility of the testing team, for if they don’t love it and support it, chances are neither will you.
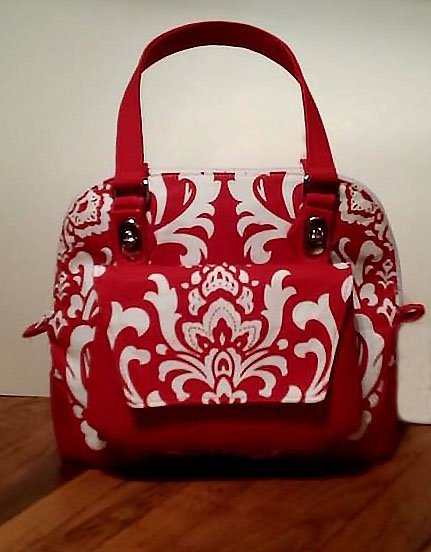
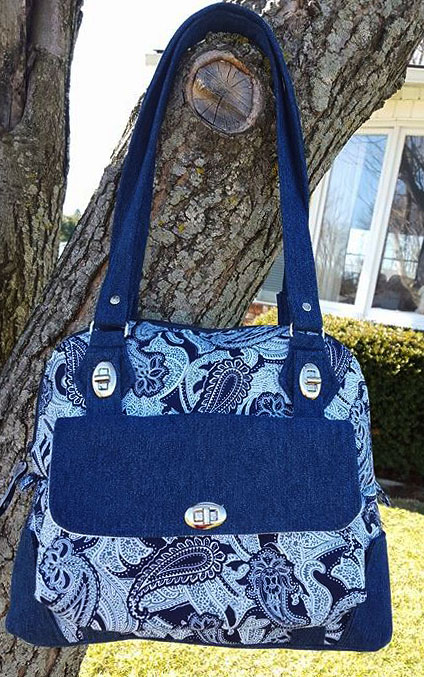
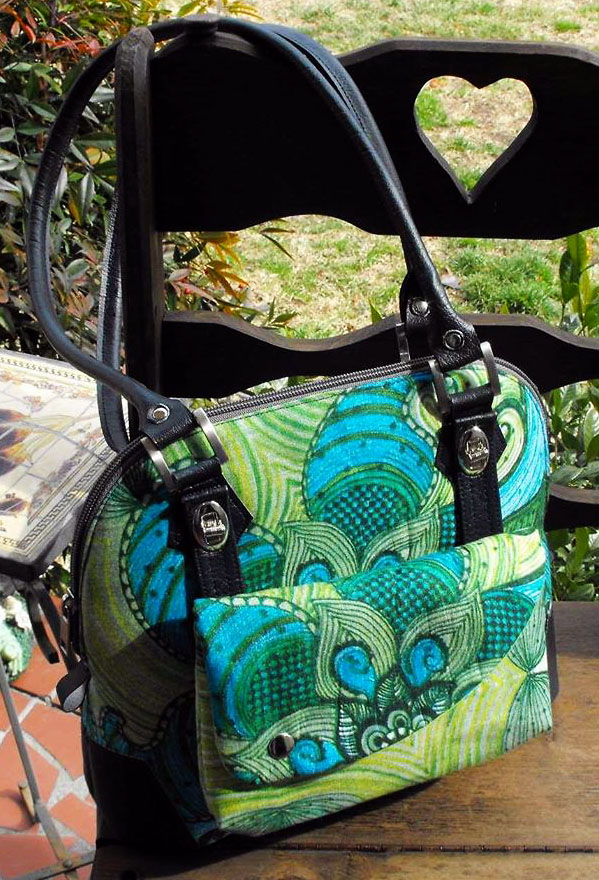
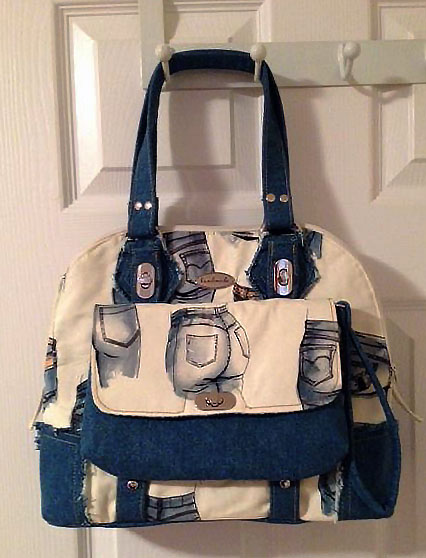
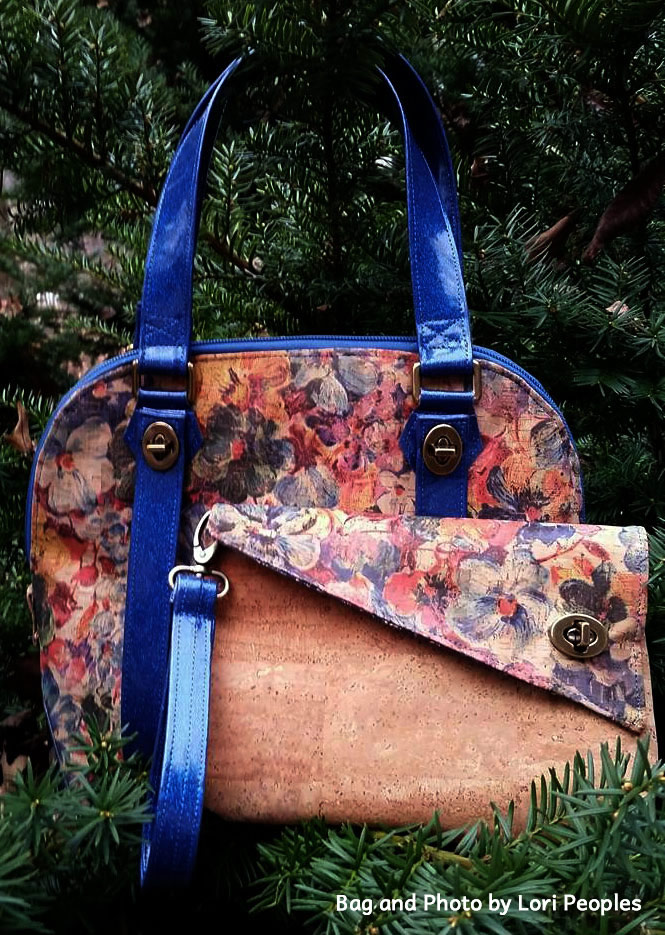
Talking new handbags and the testing team.. if you need some inspiration for purchasing the new Koala Handbag or are just looking for some amazing ways to combine textiles to make your very own Koala take a moment to view the fantastic bags made by them and read their feedback on the new pattern.


If you would like to learn even more about the new Koala Handbag with detachable Clutch, have any questions you would like to ask my team, and to see what is next for RLR Creations drop by our Facebook Group here: https://www.facebook.com/groups/RLRCreationsSewingPatterns/
Who are these amazing ladies and why do they do it? Stop back next week and meet some of the talented ladies that make up my testing team , learn more about them and why they do it; as well as, what it takes to become a pattern tester.