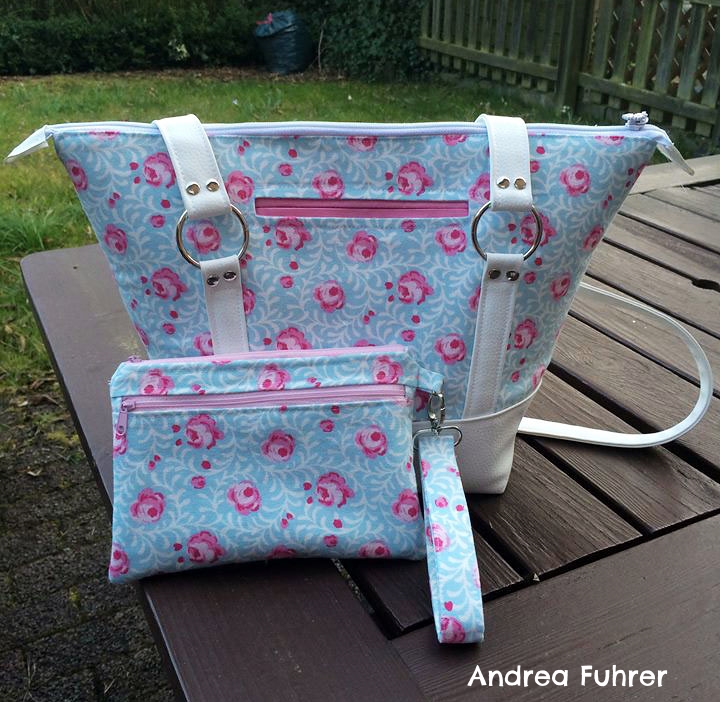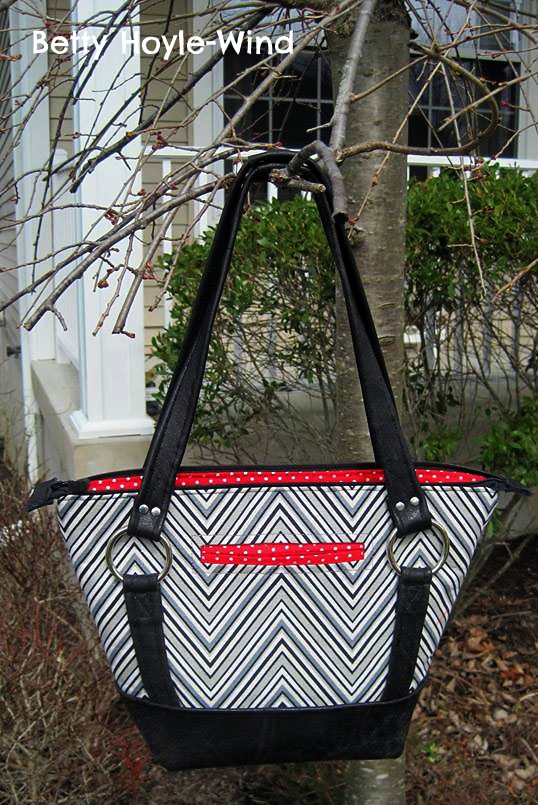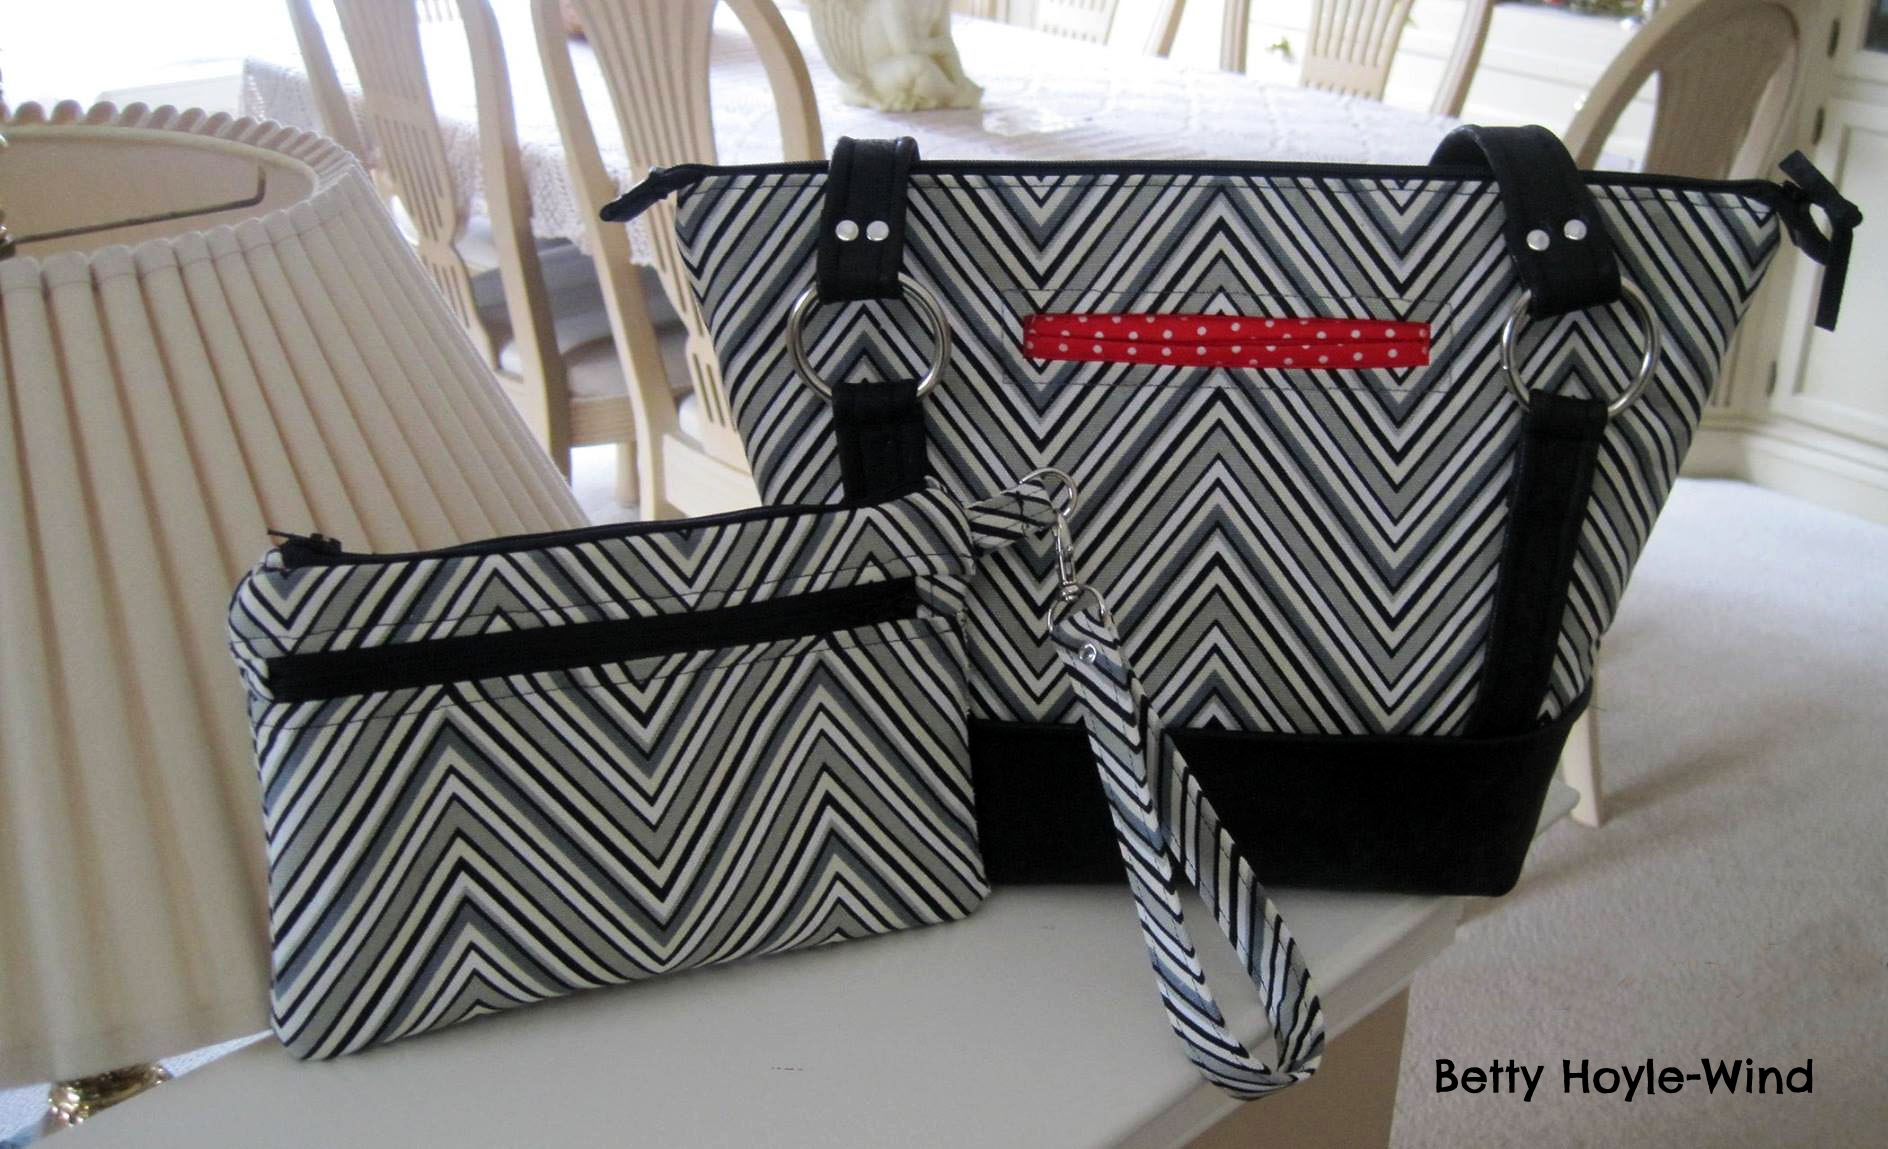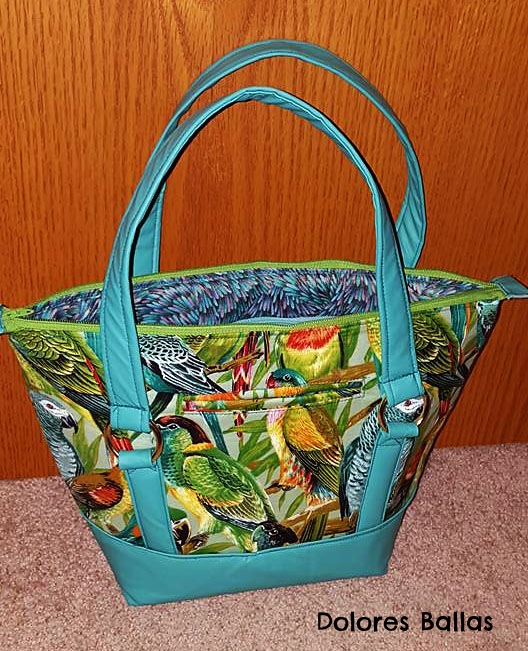
You can find the Andrea's Rucksack Sewing pattern here- Andrea's Rucksack
Or in my Craftsy Store Here: http://www.craftsy.com/pattern/sewing/accessory/andreas-rucksack--in-2-backpack-sizes/202963

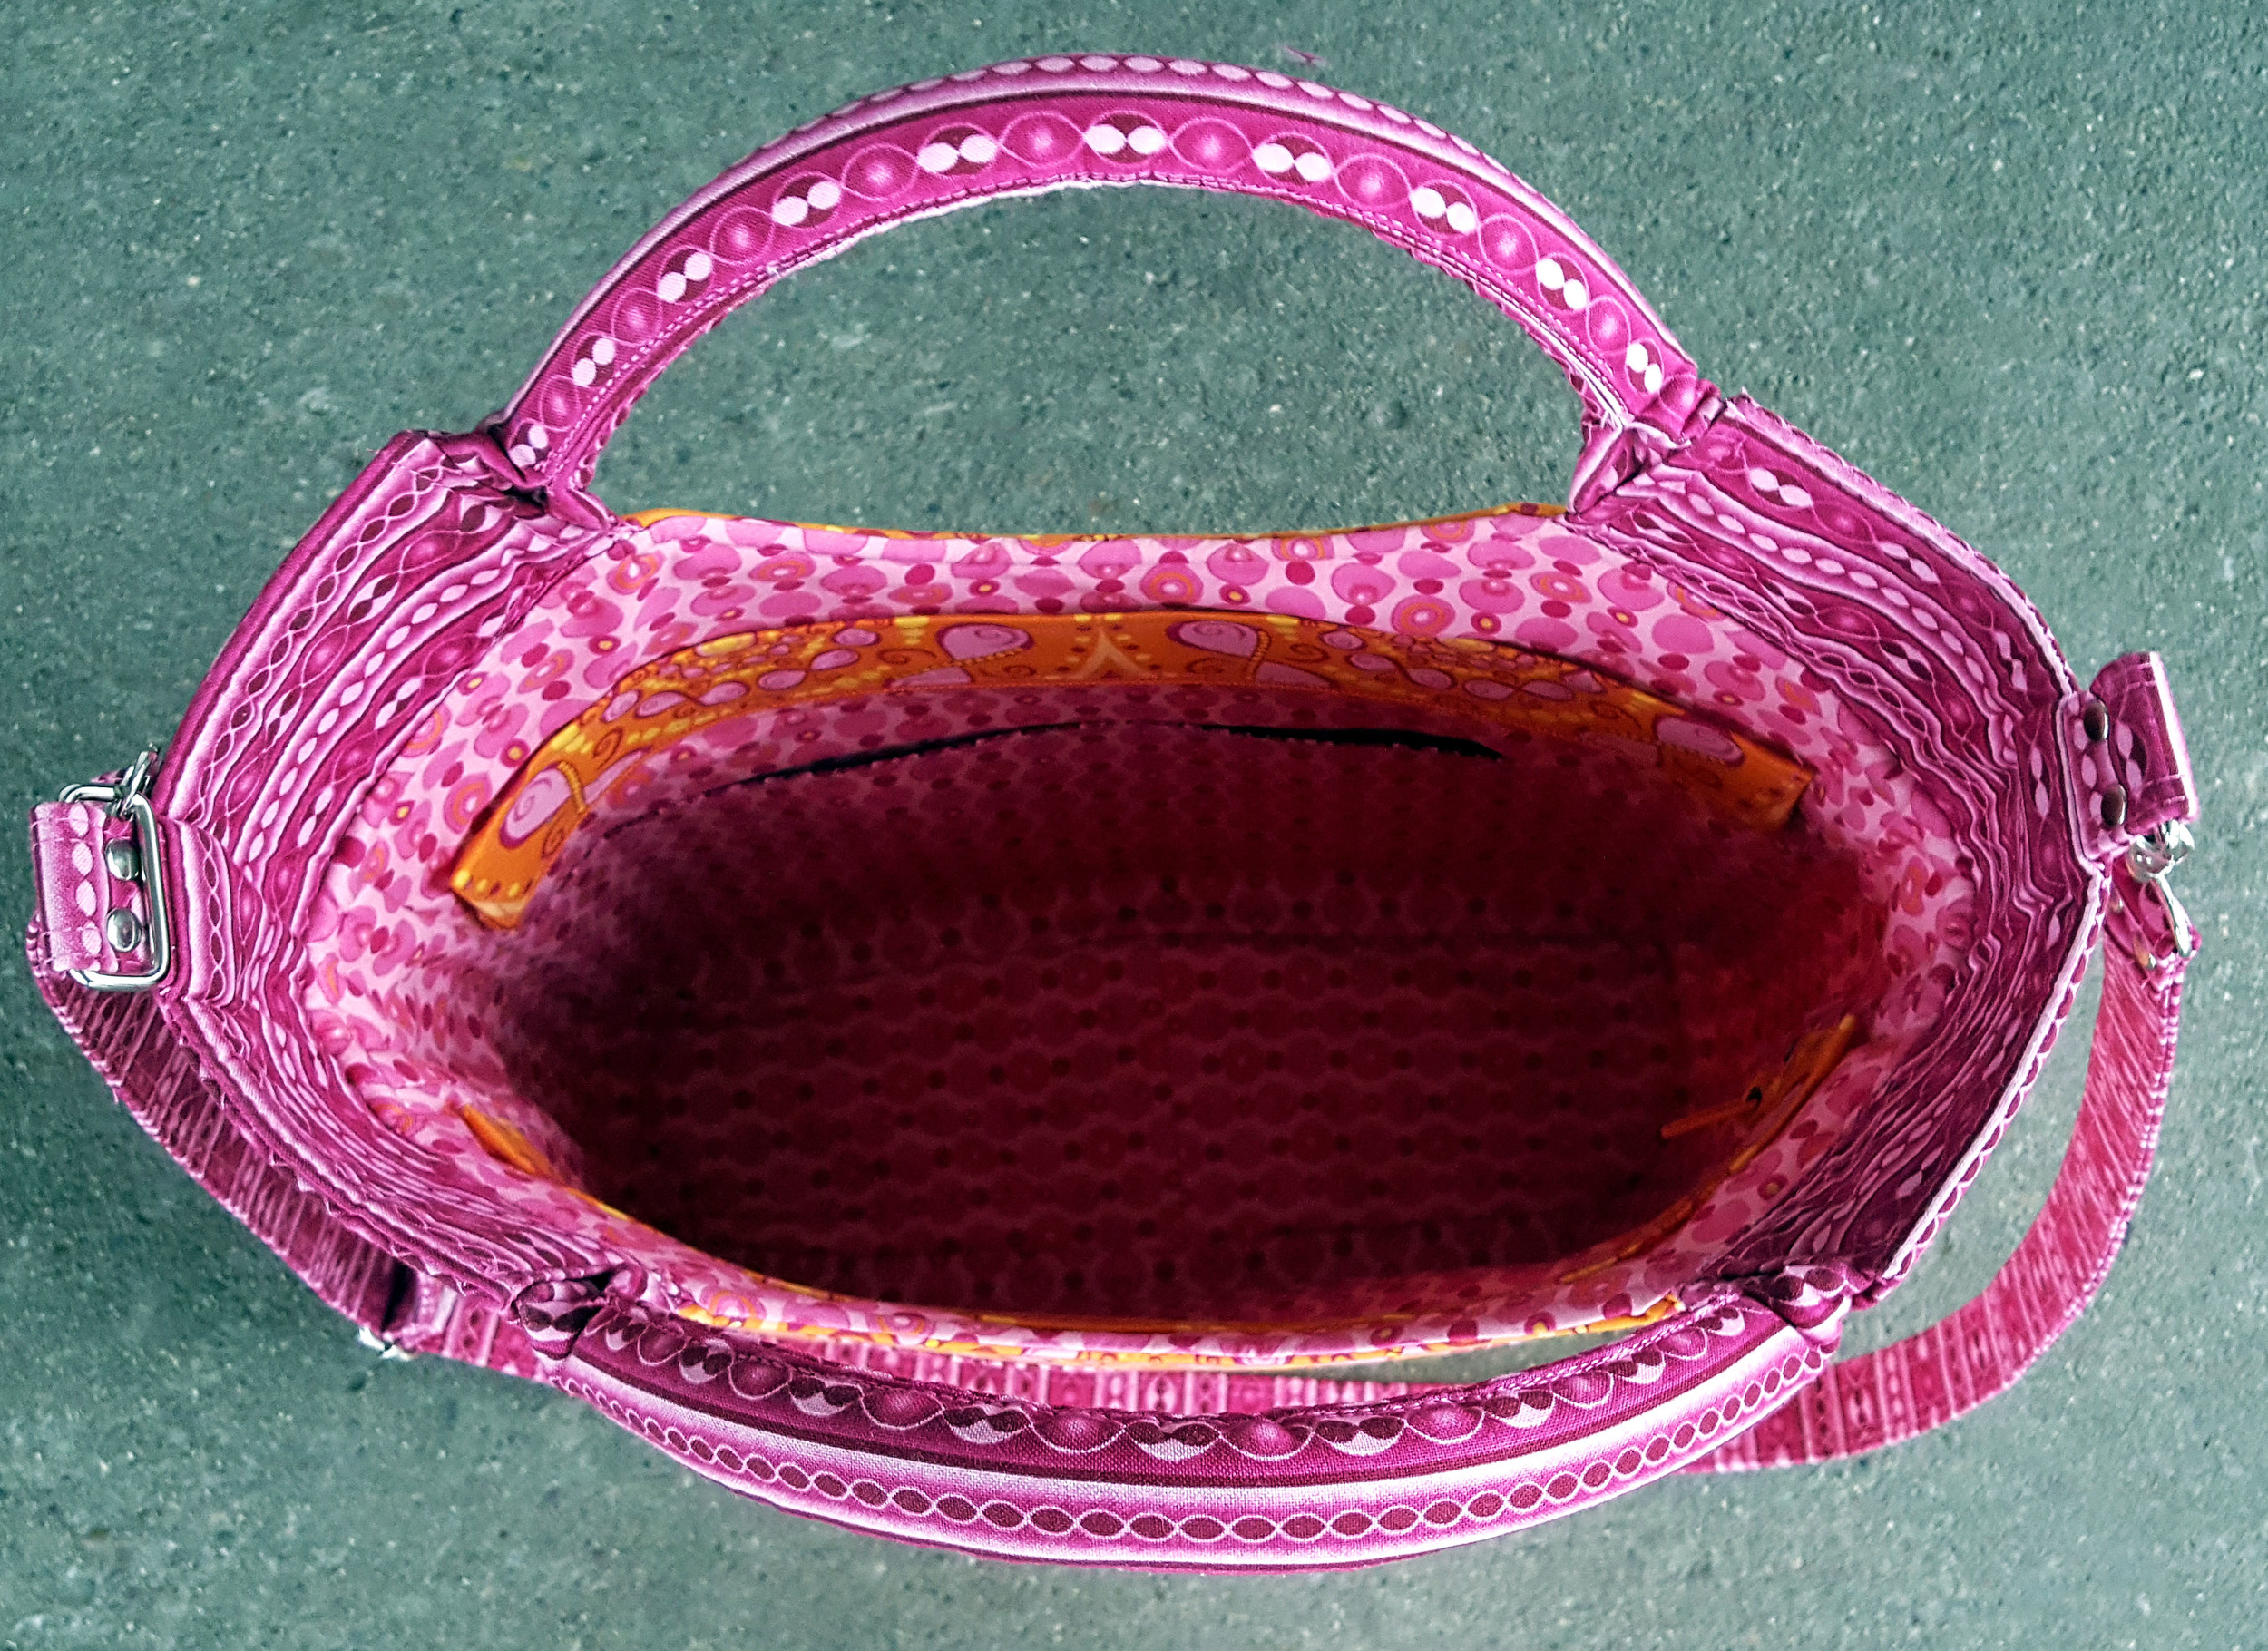
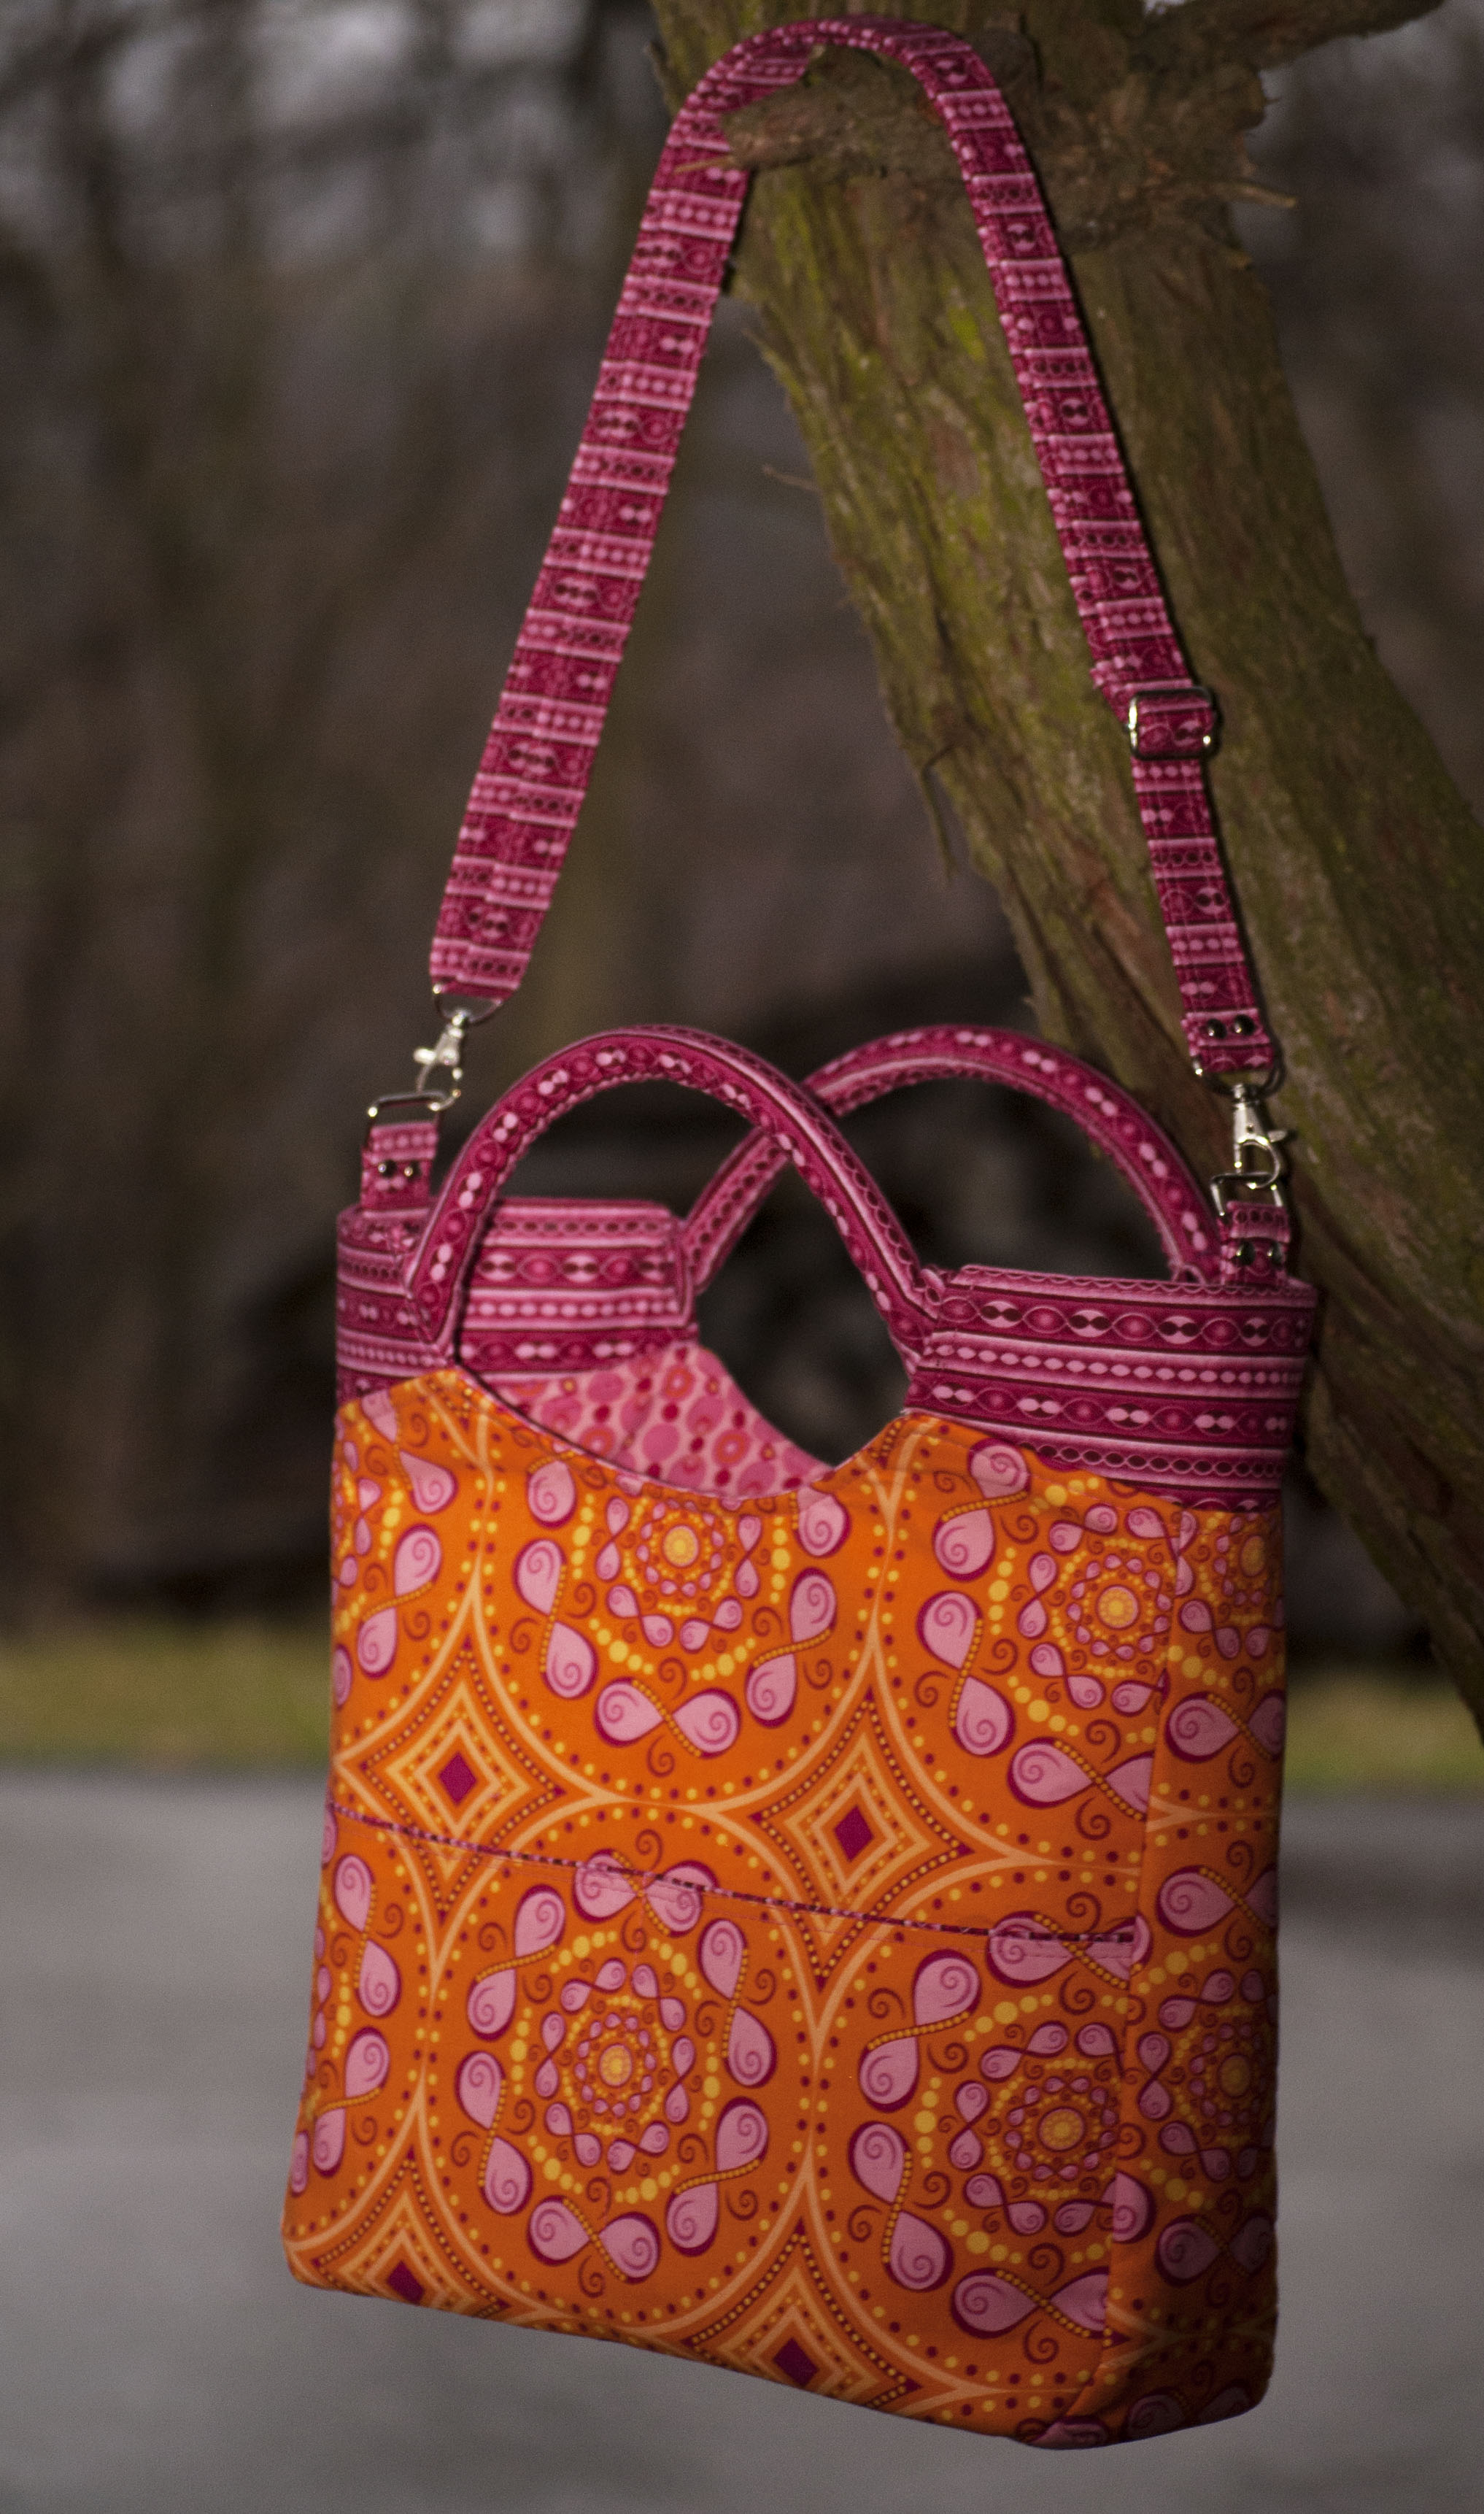
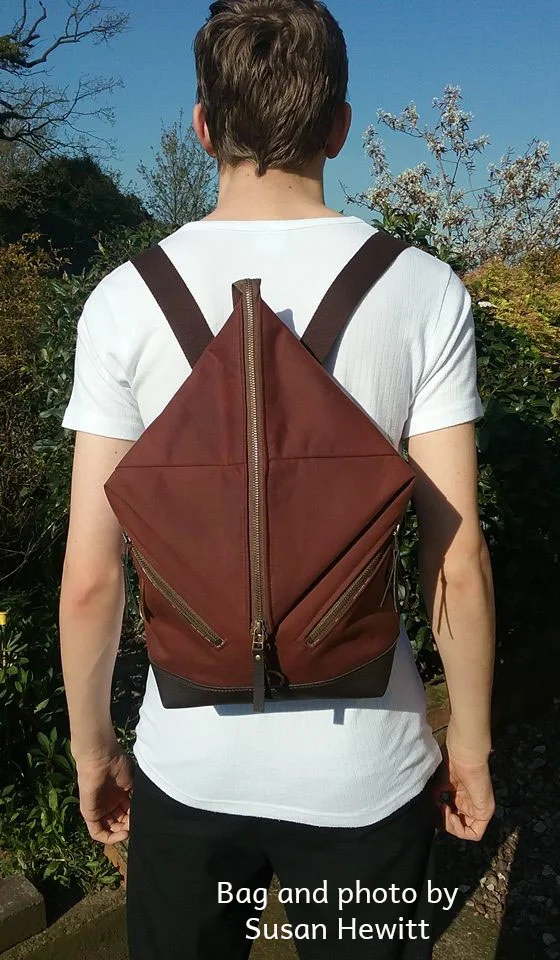
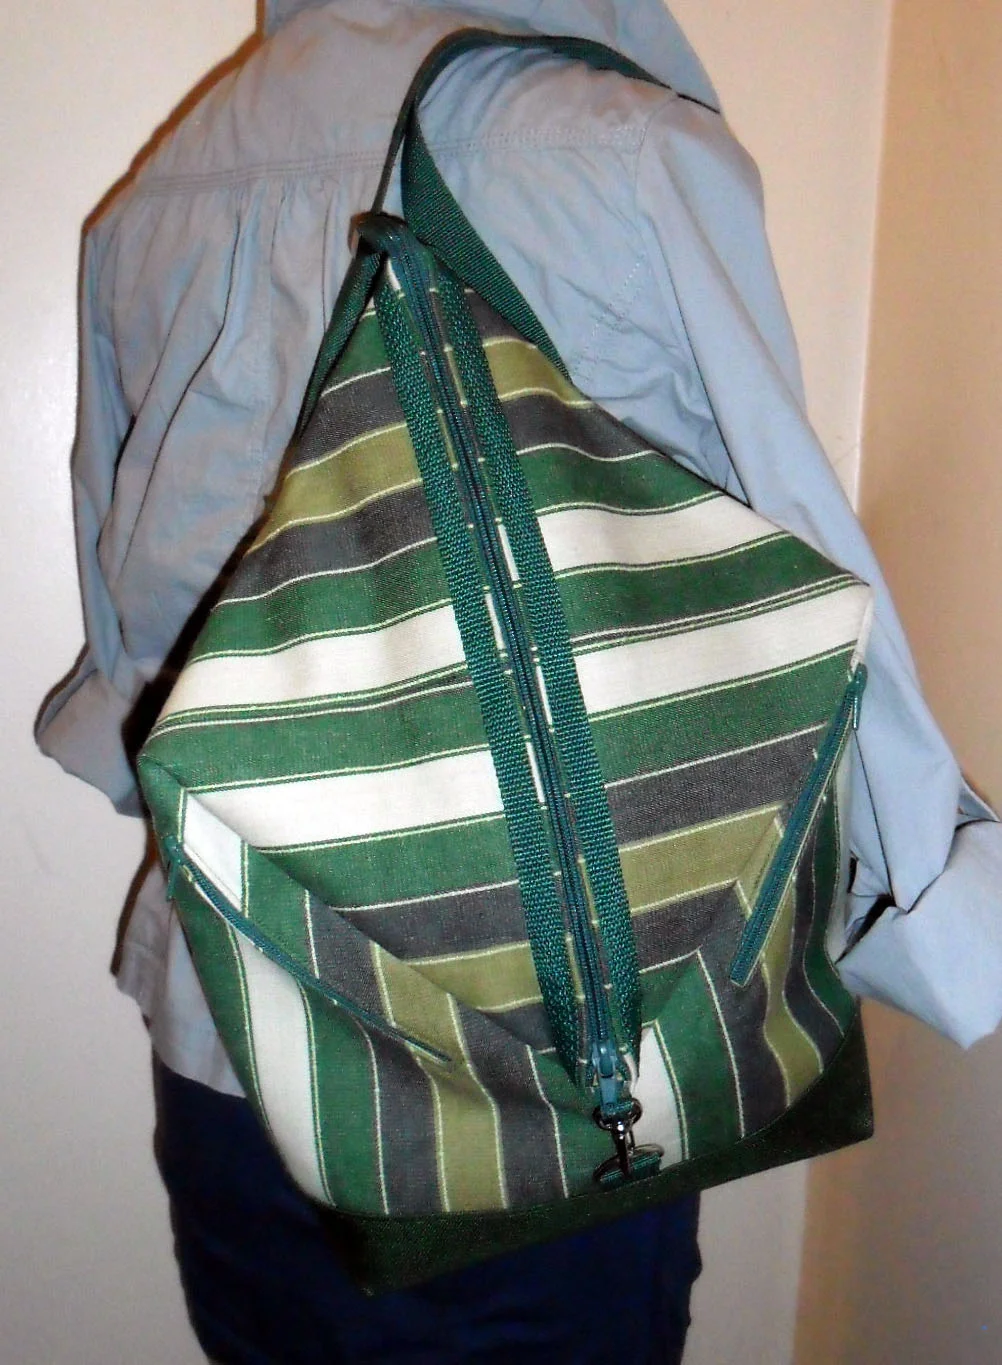
Andrea’s Rucksack is the ideal hands-free bag for when you are out and about with comfortable shoulder straps that make it very comfortable to wear on your back. However, not everyone is the backpack “type” and prefer to carry a bag sling style. Some prefer the option of a convertible bag that allows you the choice to carry it as a stylish hobo sling or a backpack. The problem with most is you have one strap that unzips to convert to two, which leaves you with open zipper teeth that can be uncomfortable riding on your shoulders.
For those of you that prefer the option of a sling bag and/or a backpack it is super simple to create the Andrea Rucksack to work as both, while being just as quick to change as a zippered single strap, you won’t be left with open zipper teeth that can be so uncomfortable.
HOW TO MAKE ANDREA’S RUCKSACK INTO A CONVERTIBLE SLING BAG.
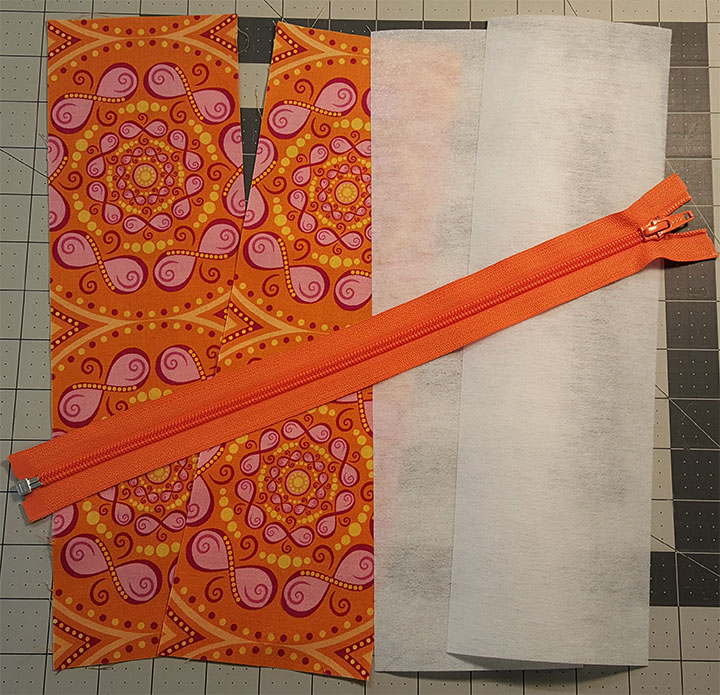
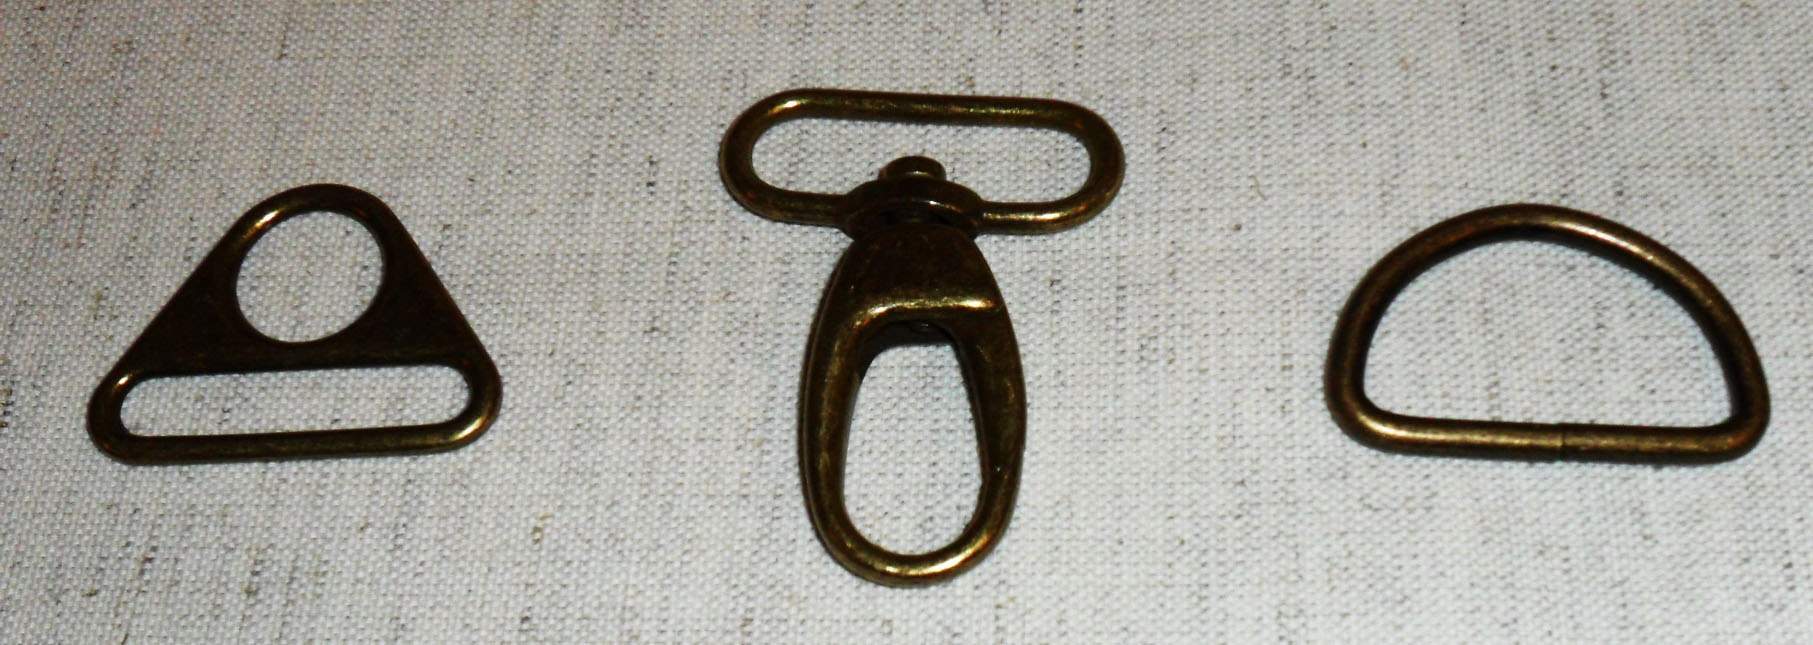
In addition to the materials needed for completing the bag listed in the pattern you will also need
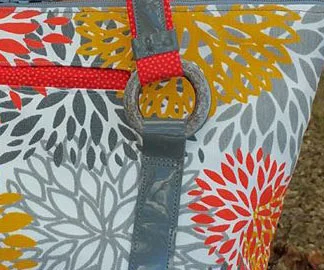
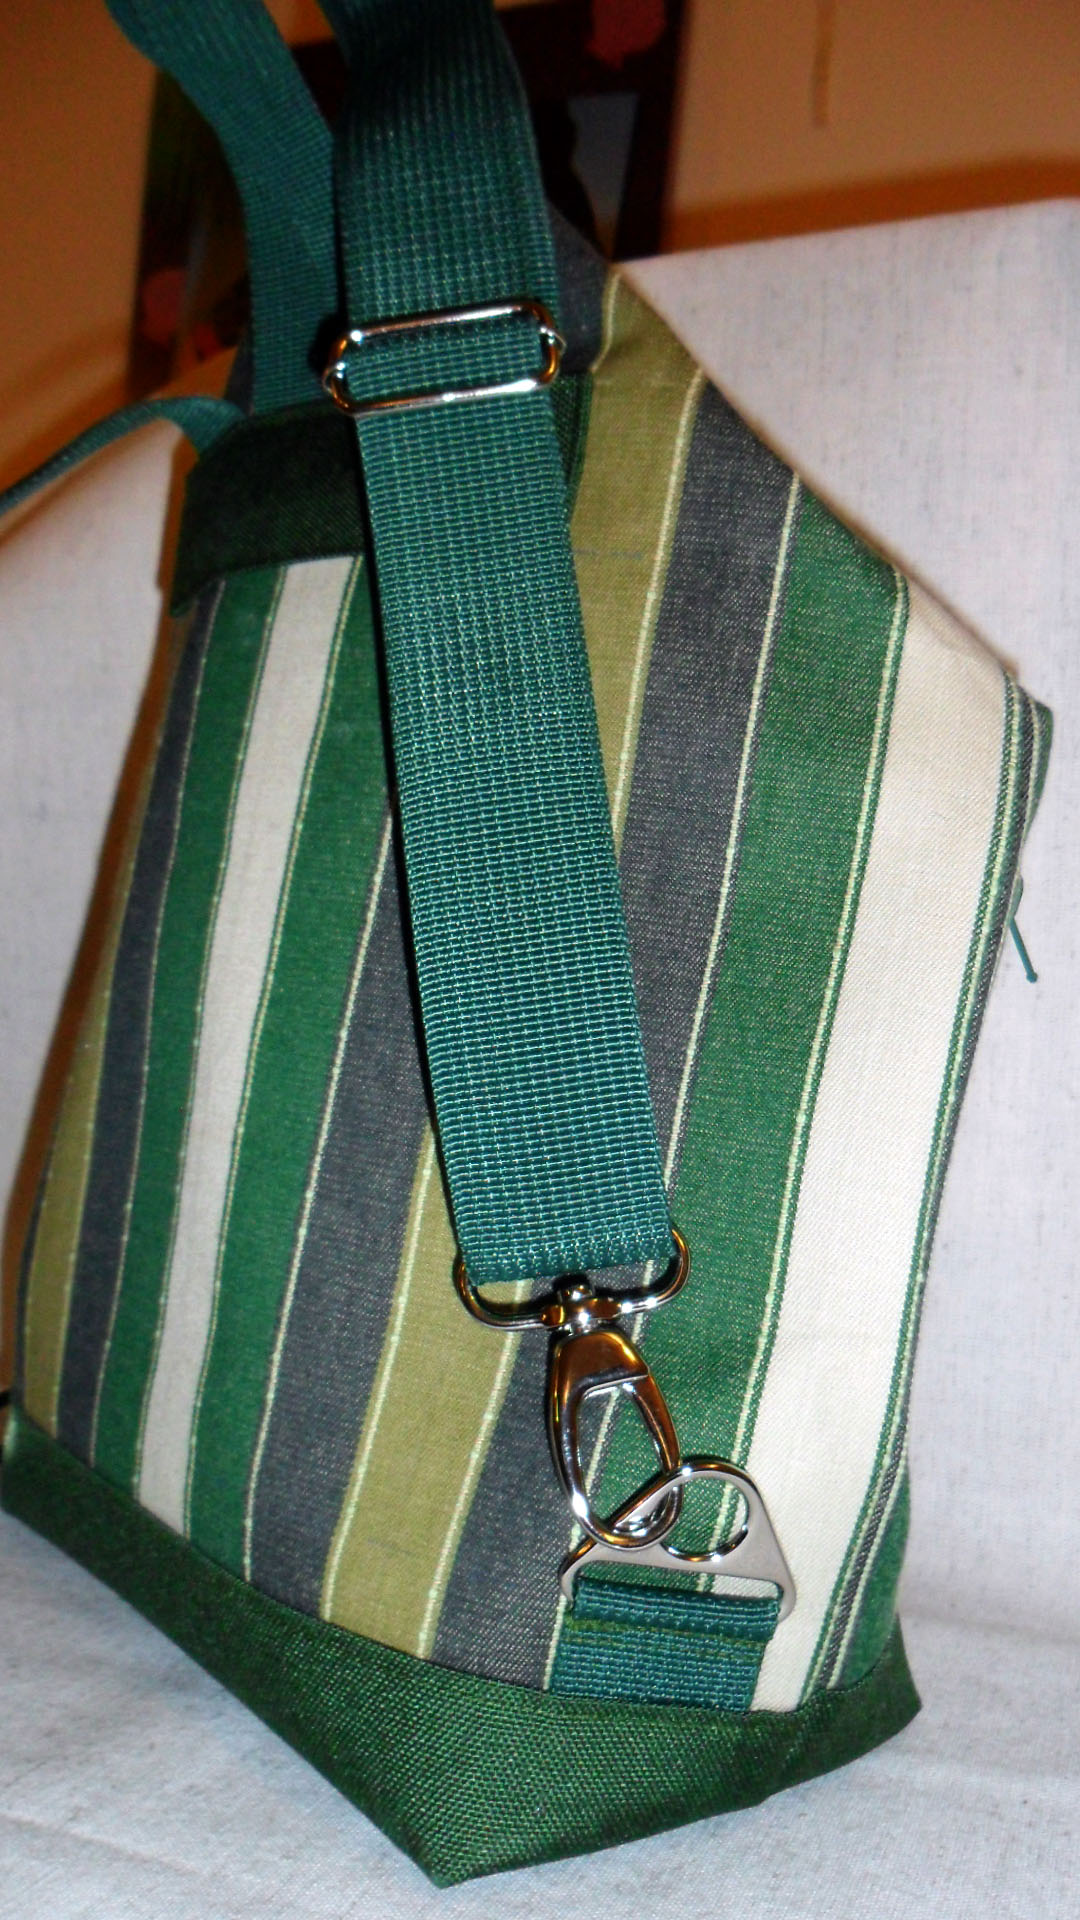
- 2- 1” (1 ½” for the large size) swivel hooks.
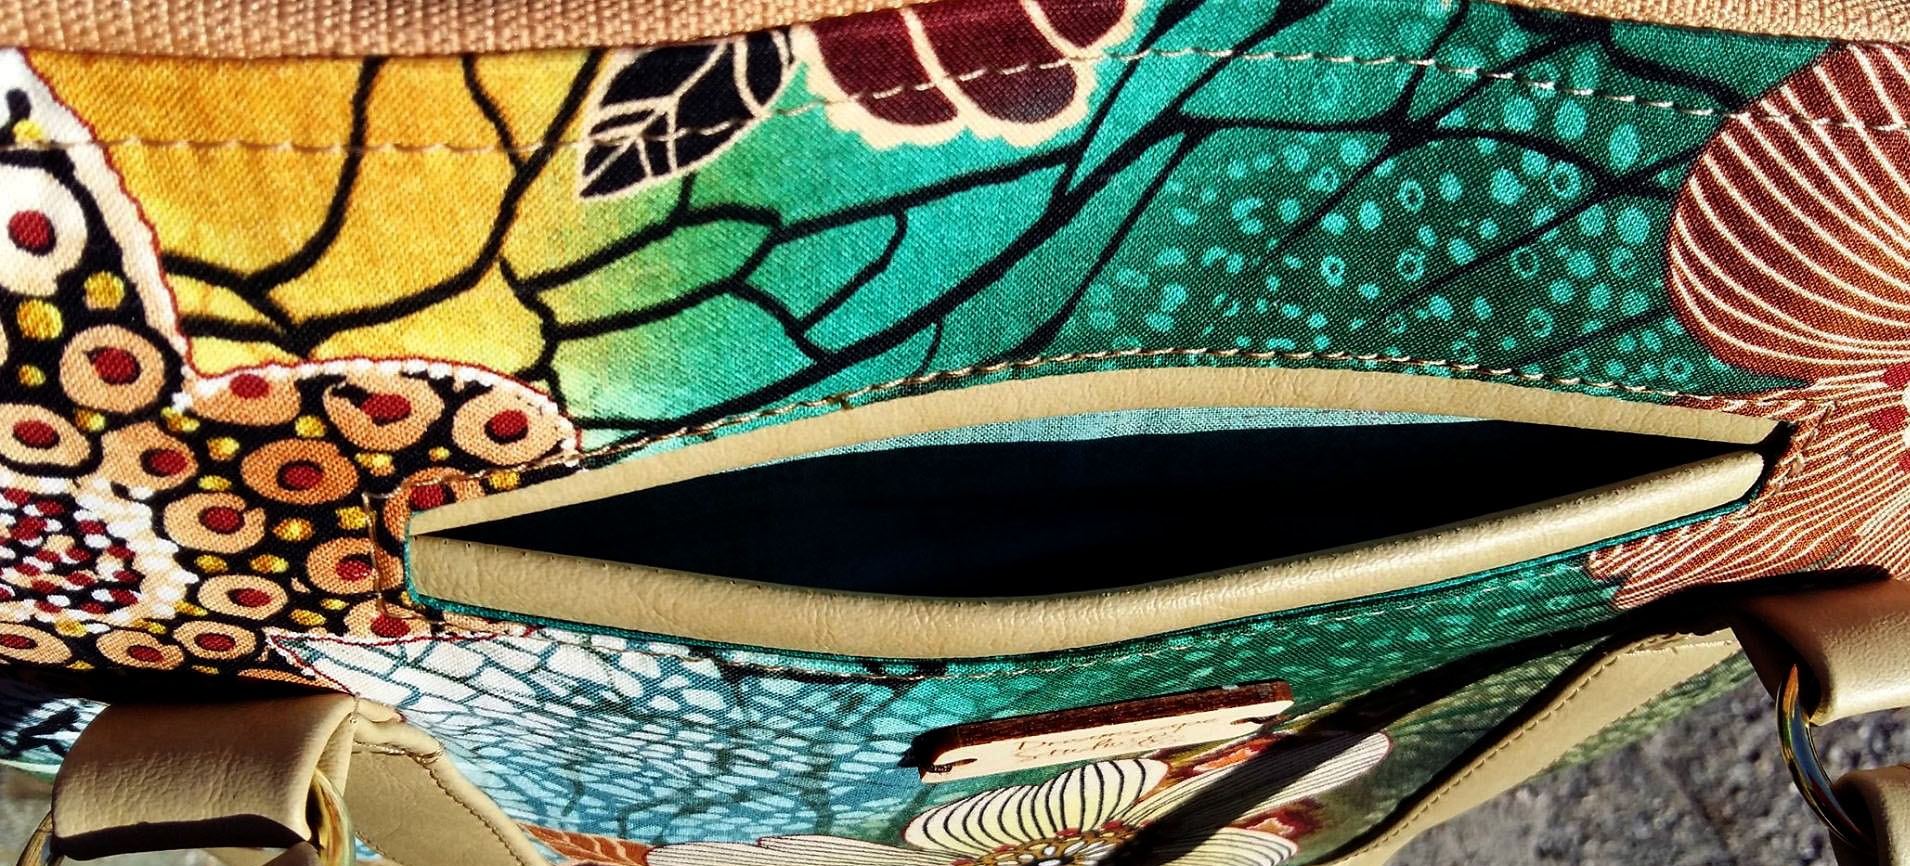
**Also it is ideal to use d-rings or o-rings, or triangle for the hardware called for in the pattern to complete you bag rather than rectangle rings.
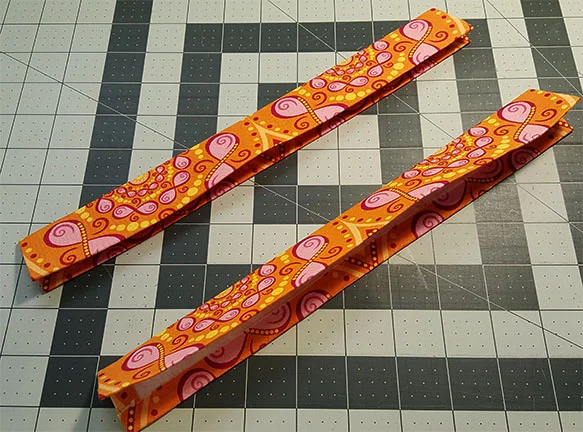
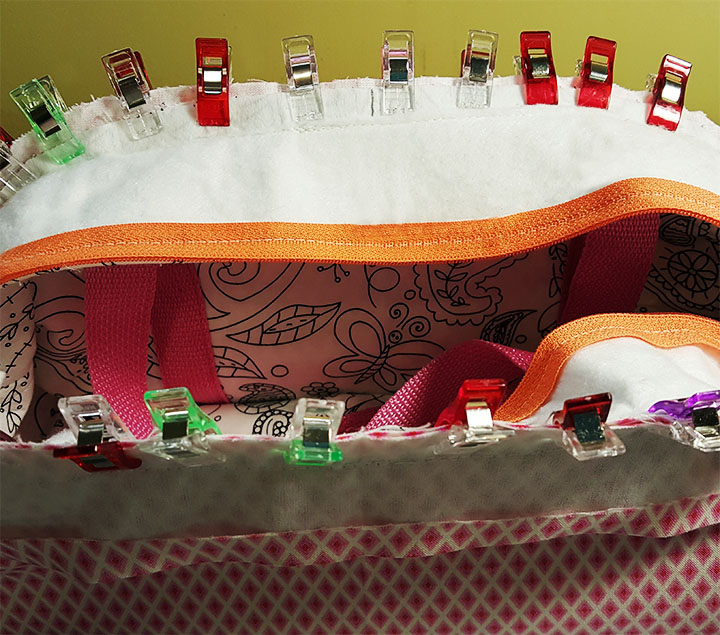
Follow the instructions in the pattern until you reach Page 23: Finishing the Back Straps. You will be adding the swivel snaps to the back straps as follows-
Adding the Sliders and Swivel Hooks to the Back Straps:
1. Thread one of the strap ends through the one of the slider pieces, RIGHT SIDE UP, under the first bar on the slide, over the center bar and then under the last bar. Next thread the end through one of the swivel hooks.
2. Now feed the end back through the slider (under first run through) over the center bar. Pull the strap through so it goes past the slide about 1” Fold back the end where it just looped through (away from the slider).
3. Stitch the end to the strap piece below it or secure with rivets.
4. REPEAT Steps 1-3 to finish the second Back Strap.

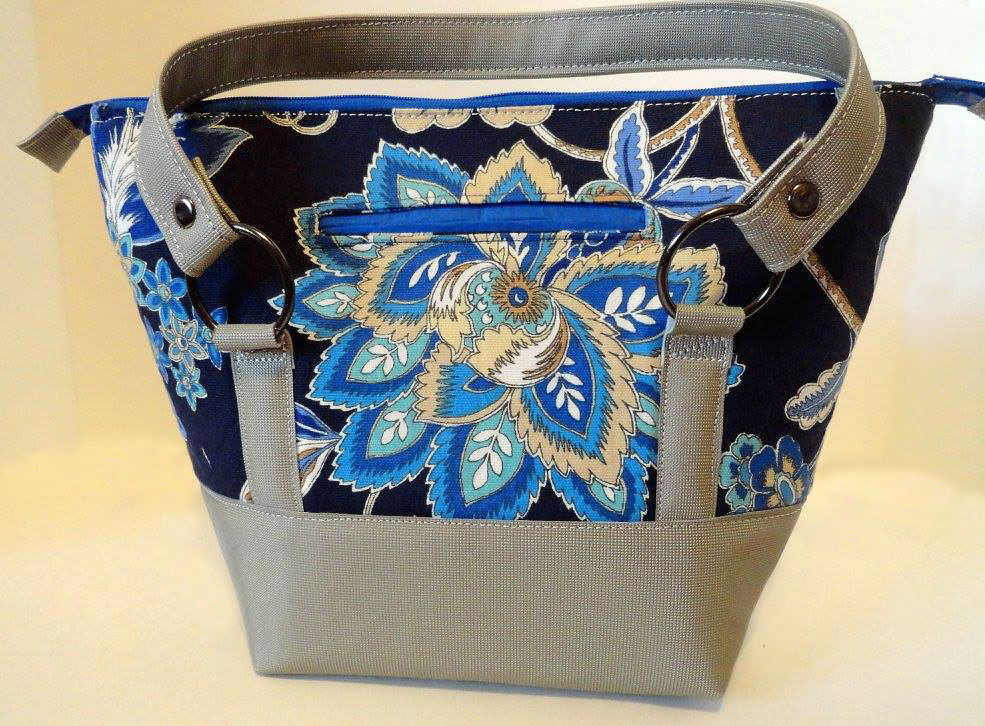
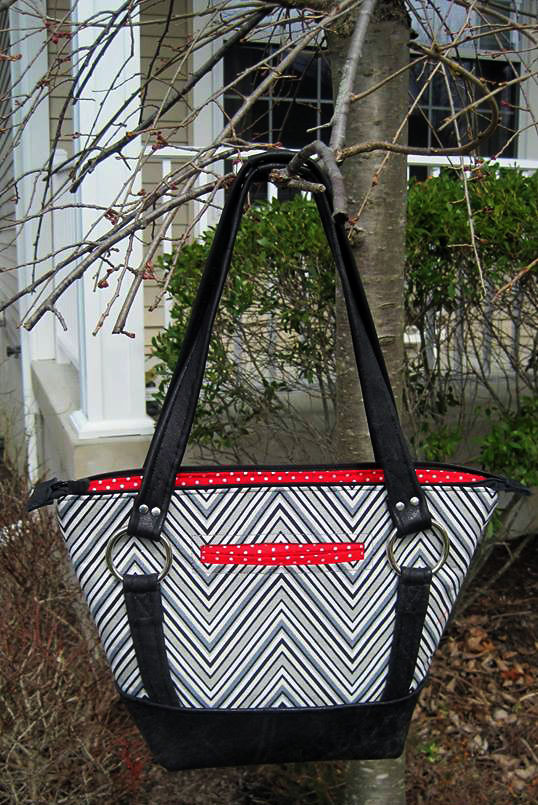
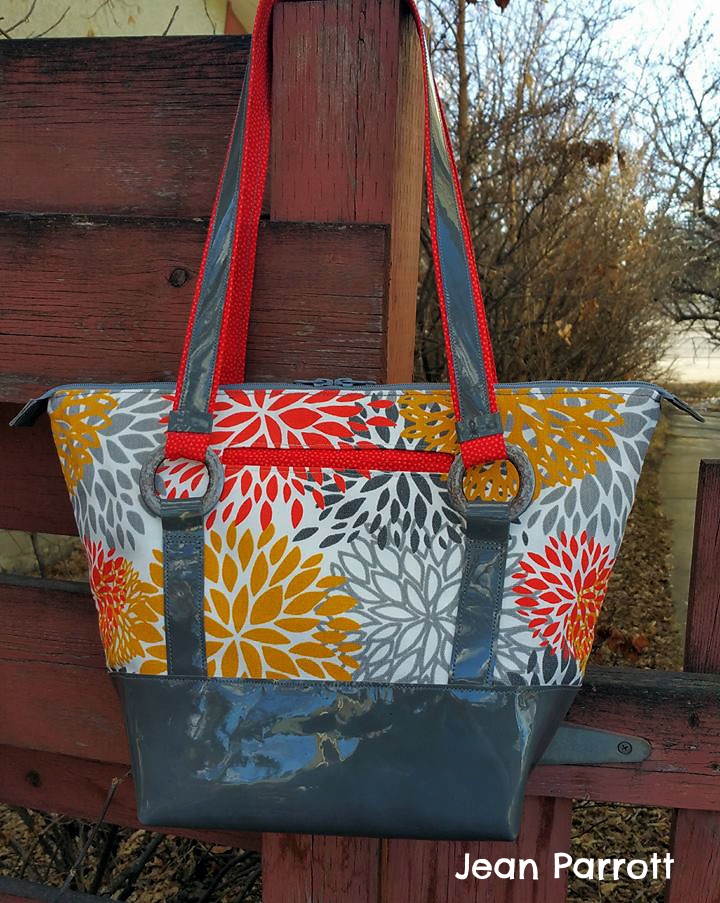
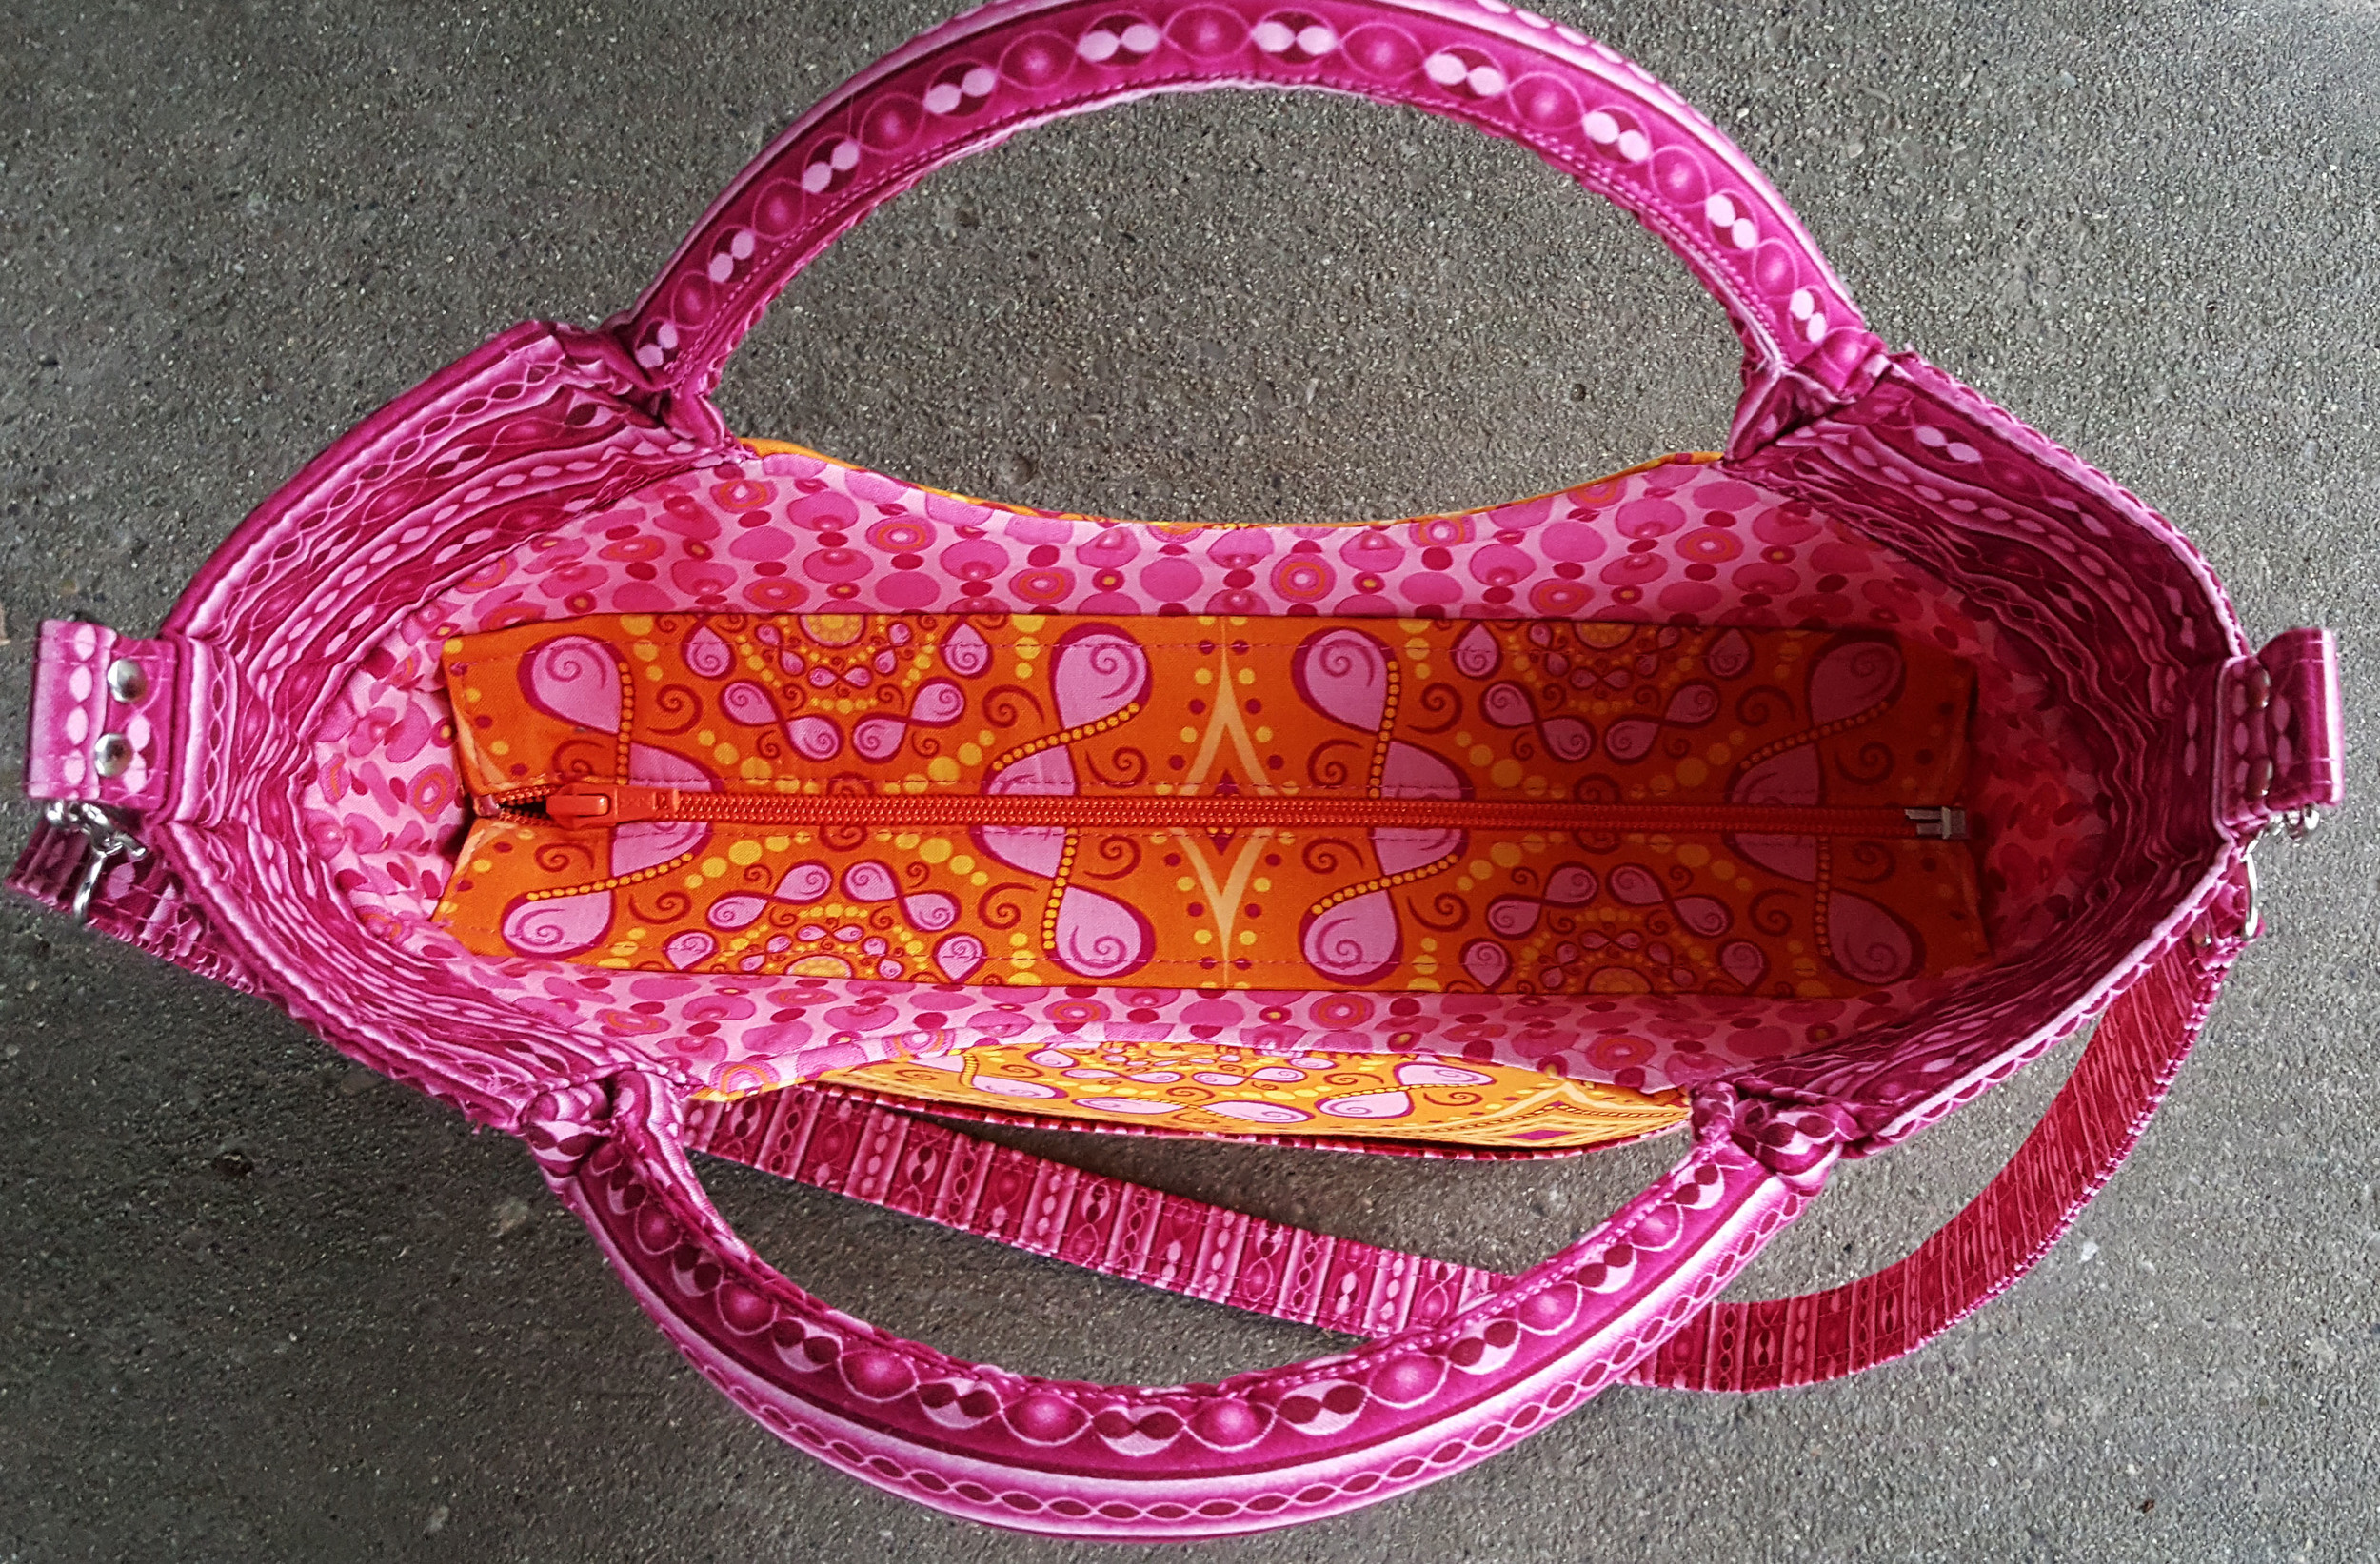
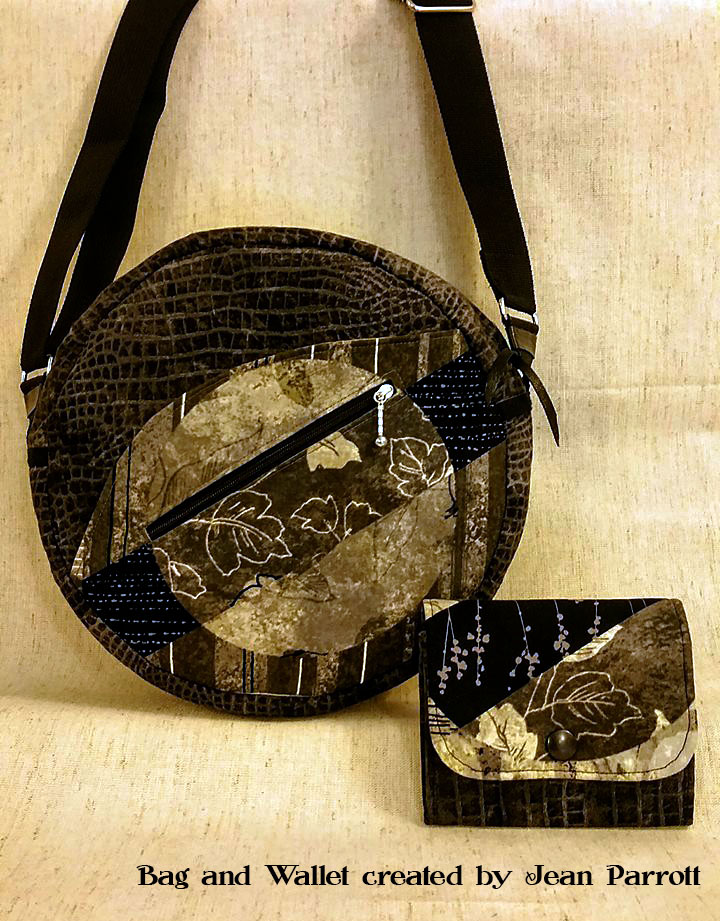
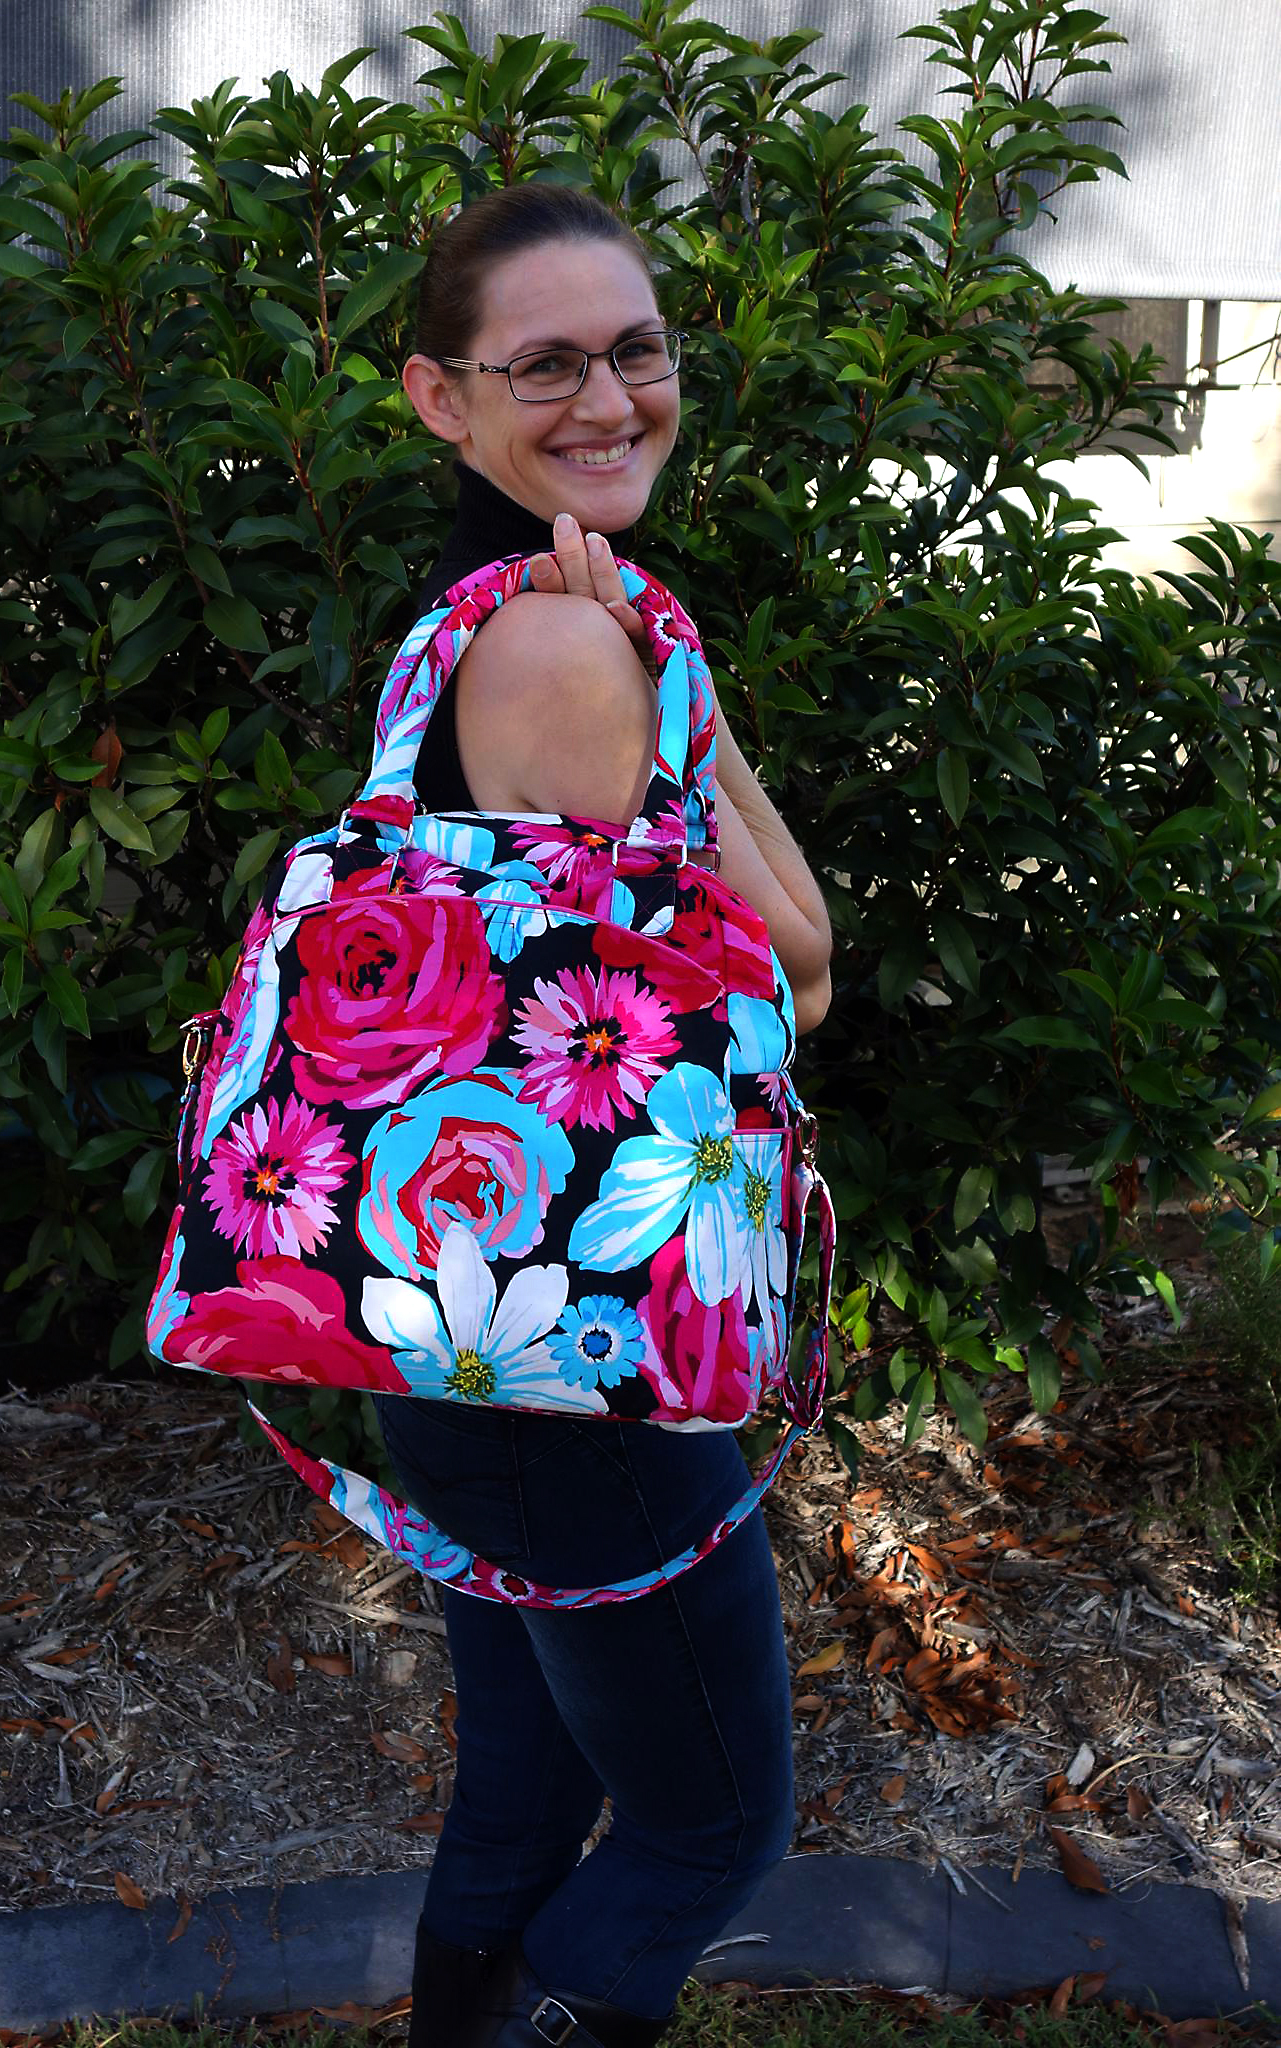
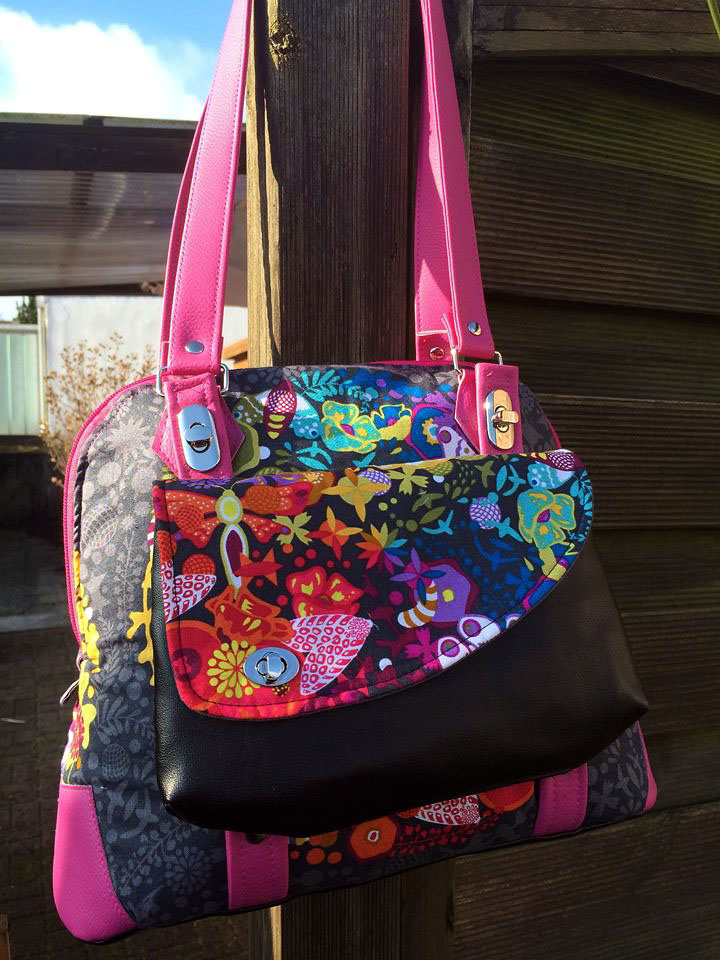
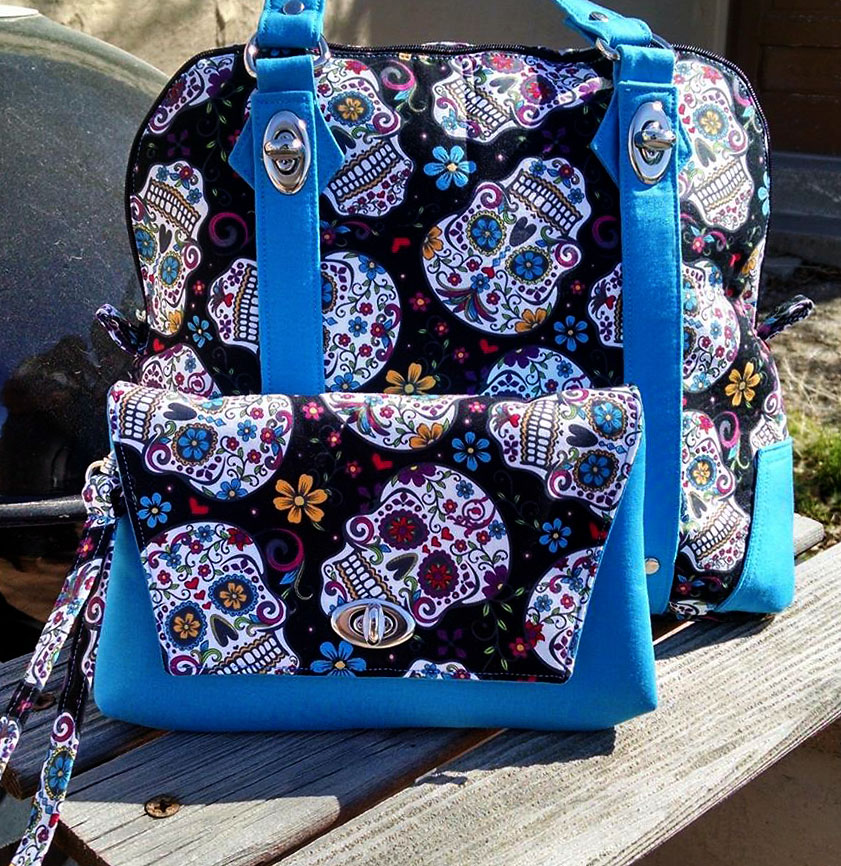
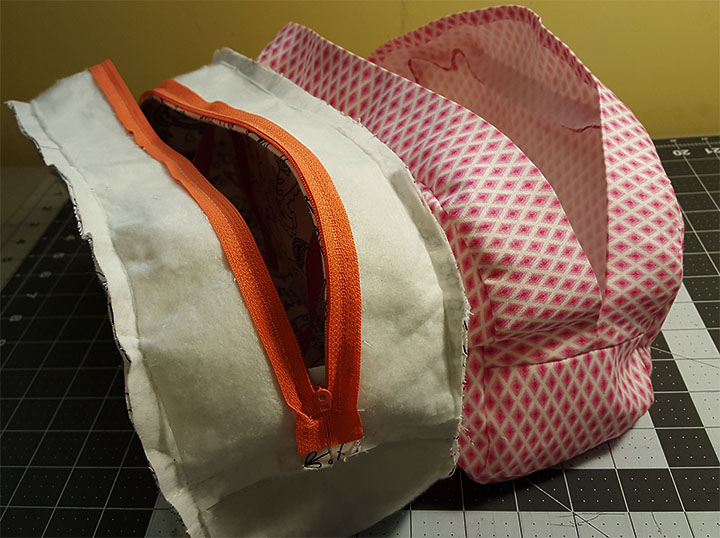
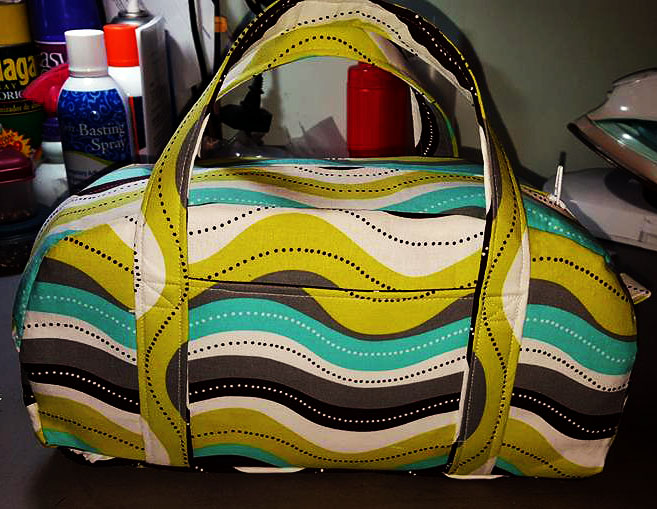
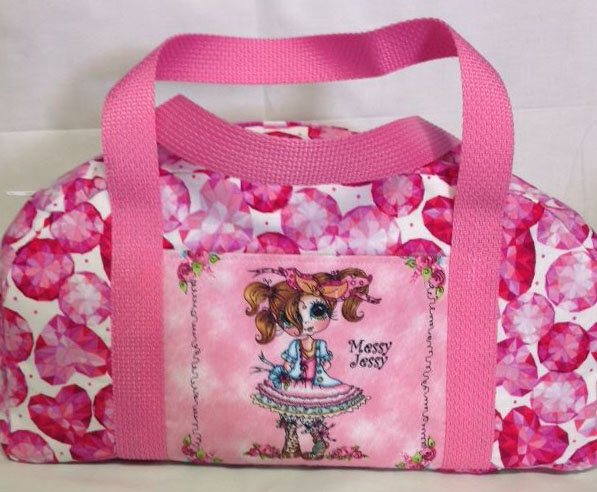
Bag and Photo by Jean Parrott

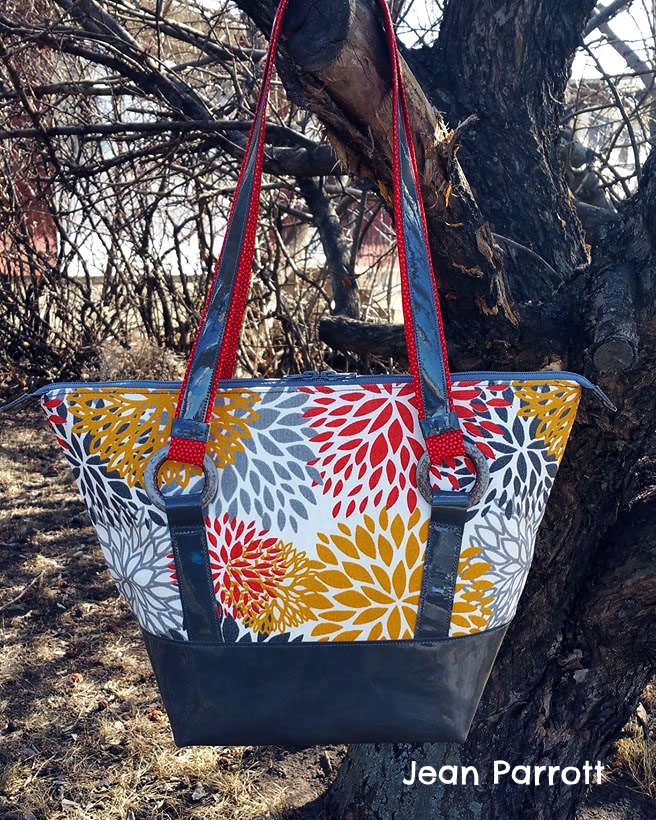
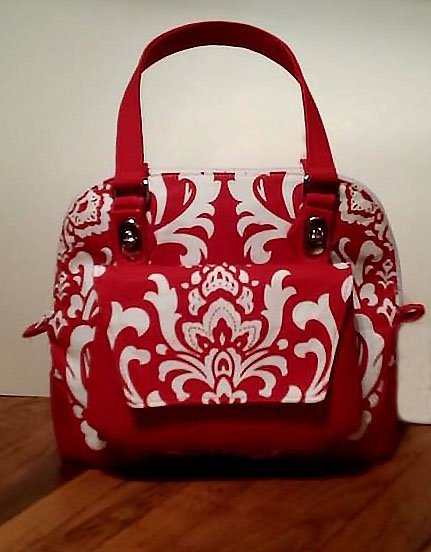
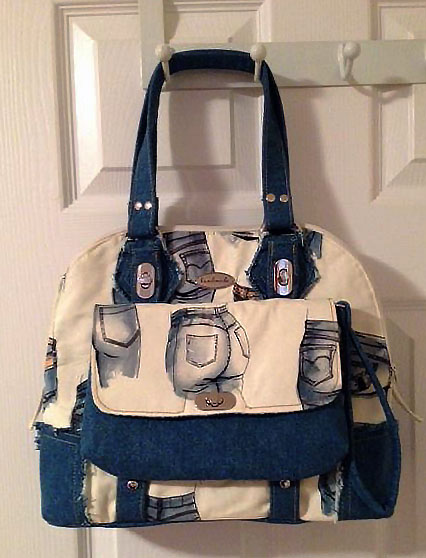
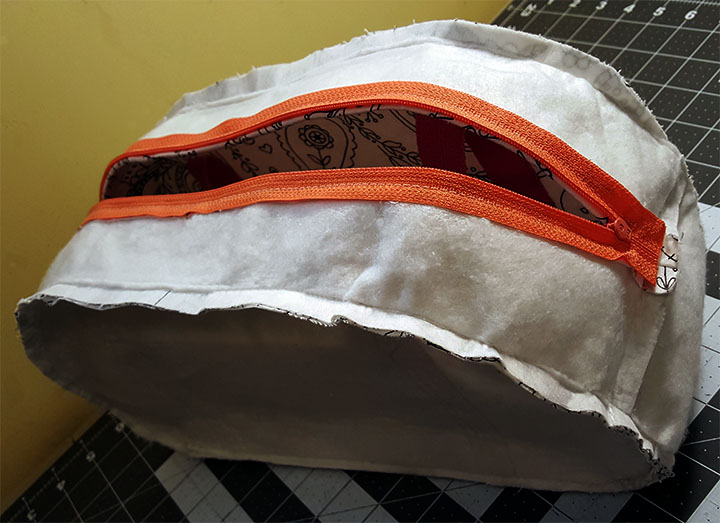
Bag and Photo by Jean Parrott

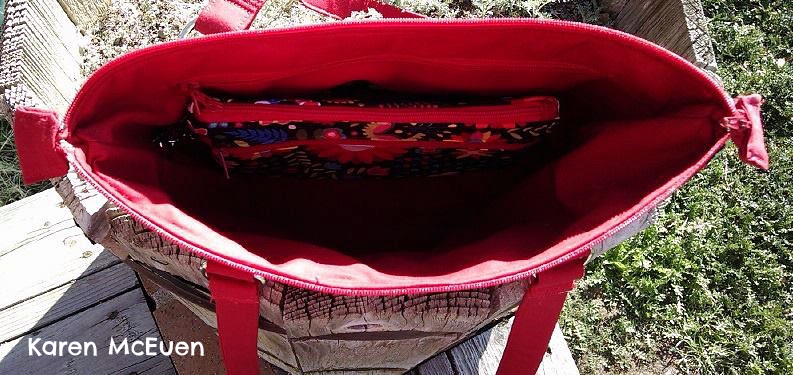
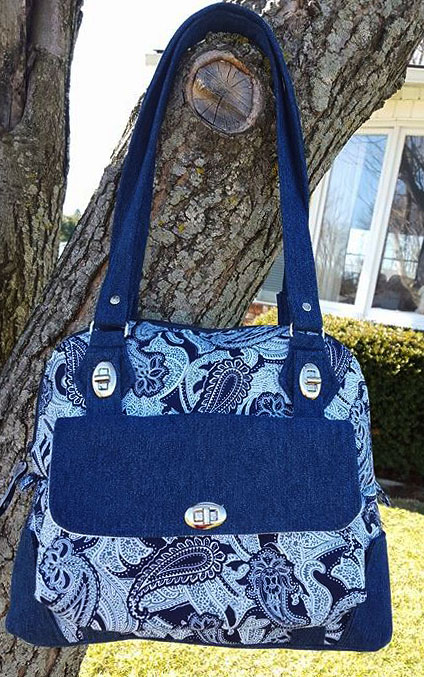
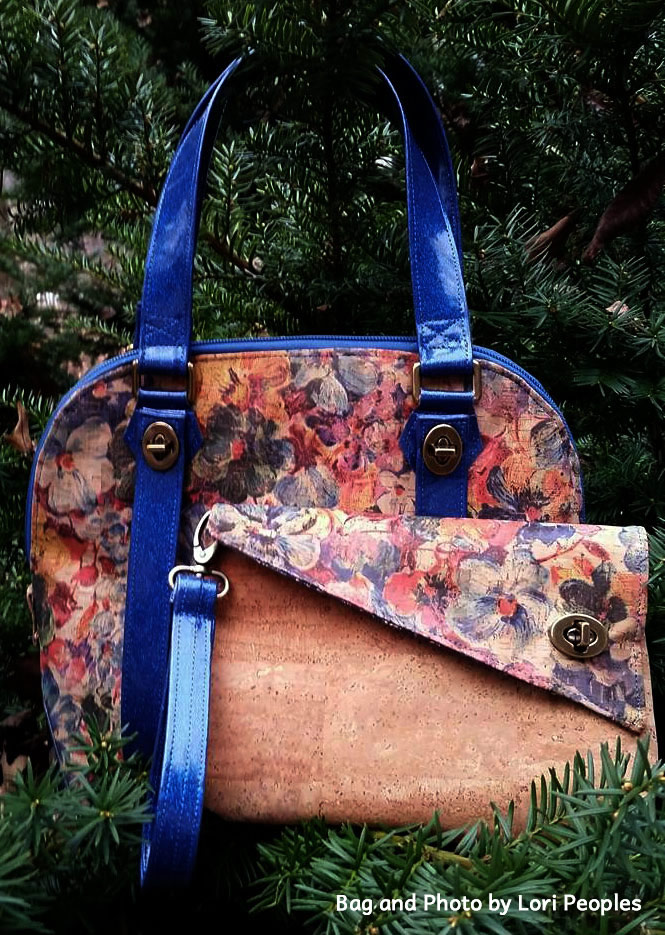
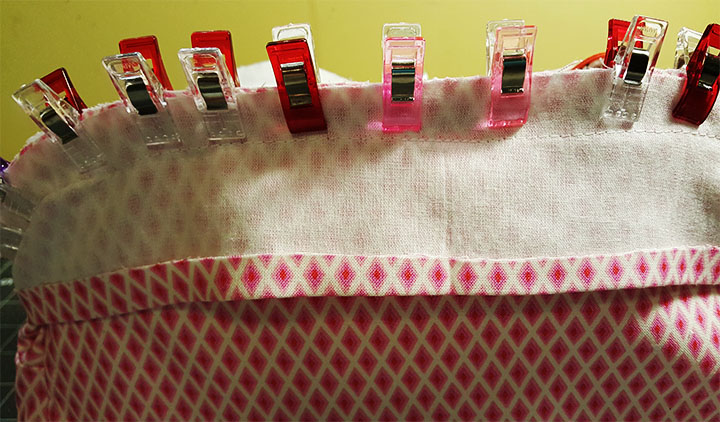
Bag and Photo by Jean Parrott

A special heartfelt thank you to the wonderful Jean Parrott for the photos and help with this tutorial!
"I have never been much of a backpack kind if gal, But I loved the design of the Andrea's Rucksack. I made it so that I could unclip the adjustable straps at the bottom to create a sling style bag. Sometimes I just need to carry it hands free and it is super easy to do. It is a great bag if you are out and about for the day by yourself or with your kids. Comfortable and light, you will not be weighed down by a large clunky traditional style backpack. But large enough to carry your necessary items and maybe a snack or two for yourself or the kids." - Jean Parrott
See lots of photos of this and all my bags by visiting my facebook page: https://www.facebook.com/groups/RLRCreationsSewingPatterns/